

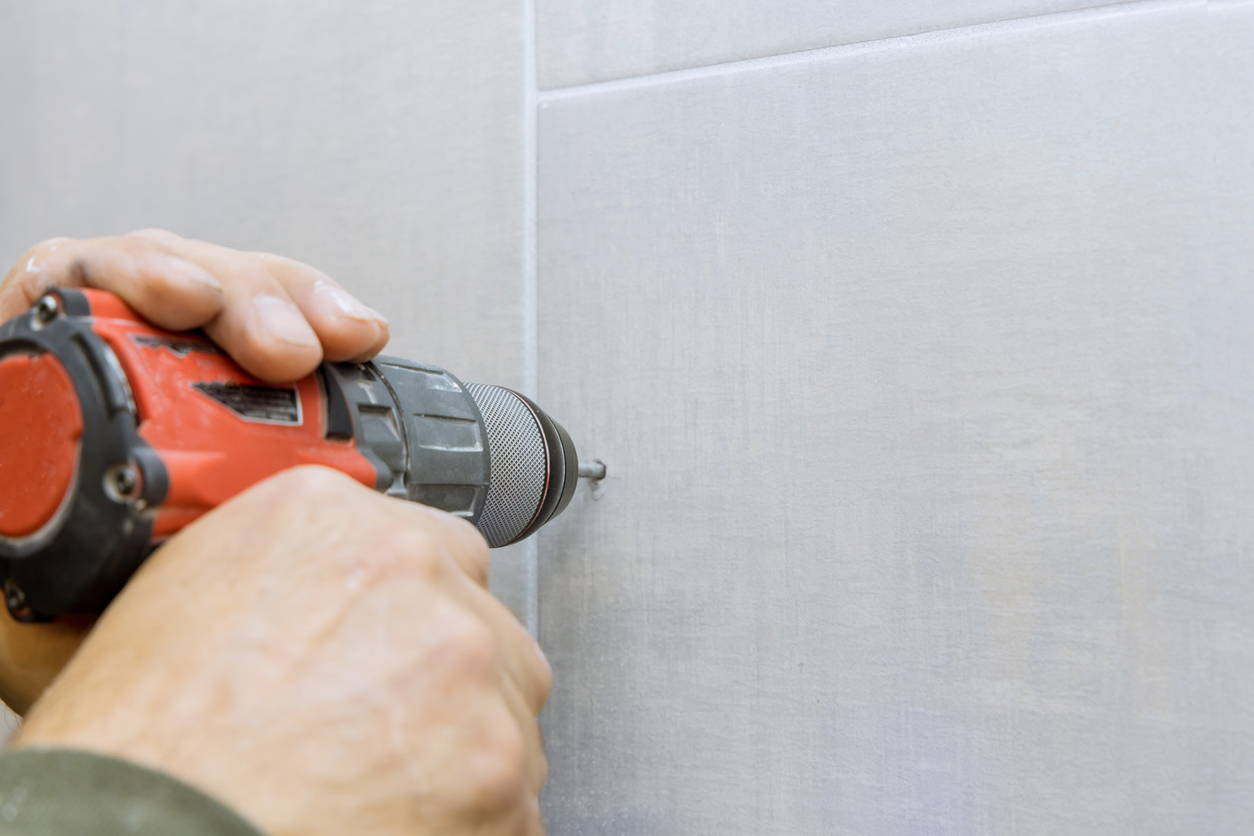
Drilling through the dense surface of a tile can be challenging even if you have plenty of experience drilling into other materials. The glazed veneer may be thin, but it’s slippery and harder than you might expect. If you apply too much pressure, the brittle material can crack and leave you with a tragic mess.
If you plan on mounting a towel rack or toothbrush holder, for instance, you’ll generally need to use wall anchors. That means that drilling into the tile is just the beginning. Once you get through the glaze, you’ll need to tackle the brick, wood or concrete wall behind it without damaging it or expanding the hole too much.
This guide will show you how to use a simple strip of tape to make drilling through tile safer, easier and more precise.
Common Types of Tiles
Some types of tiles are harder than others and require different techniques or tools. If you can find out beforehand what kind of tile you’ll be drilling into, you’ll be better prepared to bring the best drill bit and other necessary materials for the job.
The four most common tile types found in the majority of households are:
- Glazed ceramic tiles – These are found in most older homes. They’re easier to drill into than the other types since the glaze is just a thin glass layer.
- Glass tiles – These are generally used only as an accent. They’re commonly found in newer homes, since they only became popular in the last decade or so.
- Porcelain tiles – Although these look almost like typical ceramic tiles, they’re much denser due to their high silica content as well as the extreme heat used to bake the soft clay into hard porcelain. Drilling into a porcelain tile will need an even harder drill bit than drilling into ceramic or glass. You may also need a bit more preparation before starting and a bit more elbow grease during the job.
- Stone tiles – These are rare, but if you have to drill into one, you’ll need the same specialized drill bit used for porcelain tiles.
Here are a few ways to identify whether your tiles are porcelain or ceramic. Porcelain tiles are generally smoother and heavier than ceramic tiles. They also absorb more water through the sides and base. If you can find a way to check the edge of one of your tiles, look at the coloration. Porcelain tiles tend to keep the same color throughout the whole body, whereas most ceramic tiles have a multi-colored cross section.
What Kind of Drill Bit Should I Use?
Whatever type of tile you have, don’t use an old or dull bit to drill into it. Worn drill bits have a much greater chance of cracking a tile’s surface. Their rotation might be slightly uneven, and you may have to exert more force to drill down than the tile can stand.
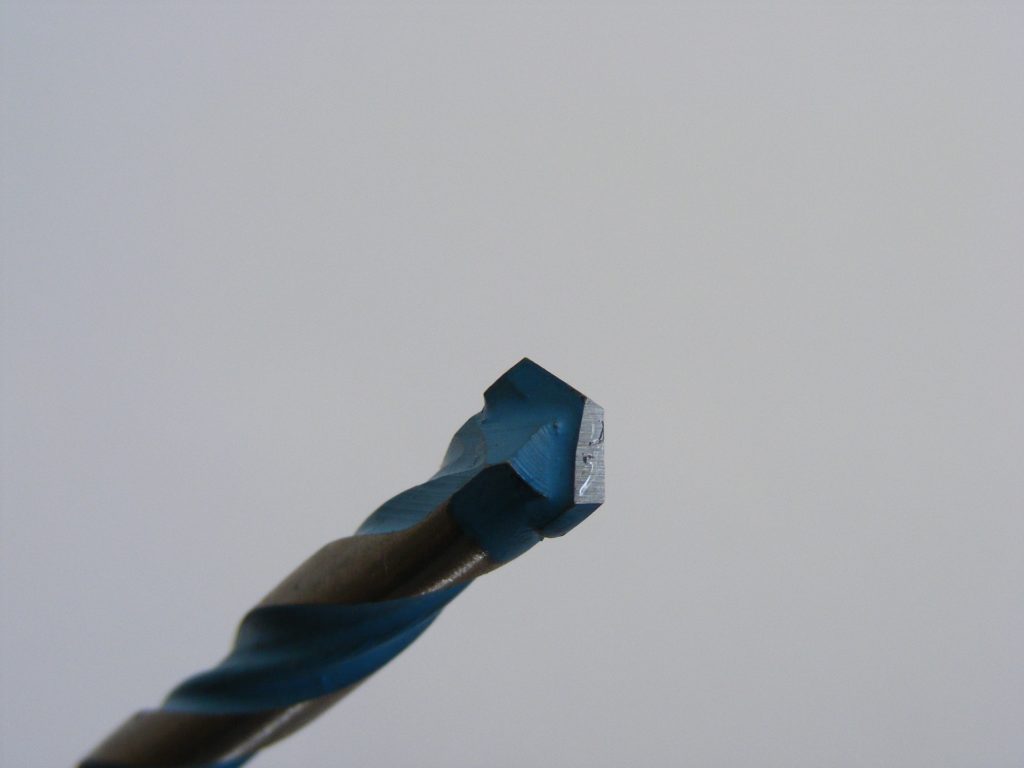
Even brand-new standard drill bits have a hard time cutting through glazed surfaces. Regular twist bits designed for metal or wood won’t work well on the fire-hardened glass covering most tiles. You’ll generally need either a masonry drill bit with a carbide tip or a diamond-tipped bit.
How to Find the Right Dremel Drill Bits and Drill Through Ceramic Tile
How to Sharpen Drill Bits to Perfection With Your Dremel Sharpening Kit
You can use a carbide-tipped drill bit for tile made from ceramic or glass. Carbide is a stronger material than glass and has no problem grinding through most glazes.
If you need to drill through porcelain or stone, however, carbide won’t do the trick. The best drill bit for porcelain tile is the extremely durable diamond-tipped bit. Although diamond-tipped drill bits cost about twice as much as carbide-tipped bits, they won’t burn out or wear down as quickly, and with the right technique, they can get through the hardest materials on earth.
If you’re not sure what kind of material your tile is made from, your best bet is to opt for the more expensive diamond-tipped bit. The higher initial cost is a better long-term investment, especially if you regularly need to cut through hard surfaces.
Tools and Materials to Prepare Beforehand
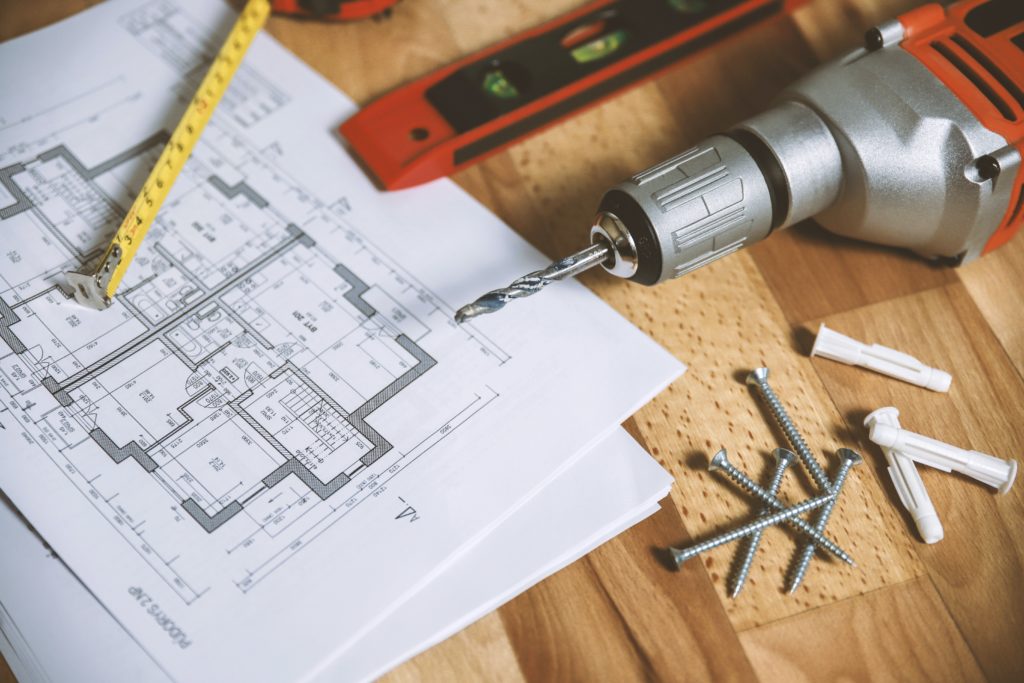
Besides your drill, screws, wall anchors and the right drill bit for your type of tile, here are a few more tools and materials you might want to have on hand when drilling through tile:
- Painter’s tape or masking tape – Give your bit extra traction when drilling on slippery surfaces.
No products found.
- Measuring tape – Make sure you drill your holes in the right location and with the right spacing.
No products found.
- Felt-tip pen, marker or grease pencil – Mark your measurements with something that can write on both tile and tape.
No products found.
- Level – If you’re drilling multiple holes, a level can help you make sure they’re on the same plane.
No products found.
- Towel – Protect the surfaces underneath your work space from messy particle splatter and provide some padding in case you accidentally drop something heavy.
No products found.
- Vacuum – A dust extraction vacuum will help you clean up stray tile particles after you finish.
No products found.
- Hammer – When drilling larger holes, you’ll need a hammer for the drill-and-tap method we explain below.
No products found.
- Center punch or concrete nail – You can score the tile’s surface and get your hole started easier with one of these.
No products found.
- Water or cutting oil – Keep some room temperature water or cutting oil nearby in case your drill bit starts overheating.
No products found.
It’s also a good idea to wear safety equipment to protect your eyes, ears, lungs and hands:
- Eye protection – Keep tile dust from getting in your eyes by wearing sealed safety goggles or at least a pair of work glasses or a face shield.
No products found.
- Ear protection – Diamond cutting through porcelain can get noisy, so bring some earmuffs or earplugs to protect your ears.
No products found.
- Lung protection – Breathe as little tile dust as possible by wearing a dust mask or a respirator when glass, porcelain or stone particles are flying.
No products found.
- Hand protection – Protect your small joints and digits with some sturdy work gloves when using spinning or striking tools.
No products found.
Prepare Your Wall
Cutting into tile is impossible to undo, so make sure you get your measurements perfect before spinning up the drill. If you’re mounting hardware that requires two or more holes, like a towel rack, use your level to ensure that all the holes line up.
Much like wood tends to split if you hammer in a nail too close to one side, tiles have a greater chance of cracking if you drill near any of the edges. Try to place your holes as close to the centers of the tiles as possible.
Tile surfaces are slippery, and it can be hard to keep your drill bit in place. The slightest hand tremor or concentration lapse could make you accidentally scratch the tile or even crack it in two. You can prevent this with a simple strip of tape.
Fixing a strip of tape over the spot on the tile where you plan to drill will give you a number of advantages. It’s easier to mark your hole’s location accurately on tape than directly on the tile where it can rub off with the slightest contact. More importantly, starting your hole on a piece of tape placed over the tile will give your drill bit a little extra traction that will keep it from moving around and missing the spot or marring the tile’s surface with ugly scratches.
Painter’s tape is a bit easier to clean up than most other kinds of tape because it won’t leave any sticky residue on the tile that you have to scrape off later. If you don’t have painter’s tape, you can use masking tape.
Once you’ve measured the general location where your hole needs to go, finish preparing your wall by cutting two strips of tape about as long as your thumb. Place them over your drill site in an X shape. Measure the exact location once again, and use your felt-tip pen to mark a dot on the tape right where you need to drill.
How to Drill a Hole in Tile
Tiles are made to survive a lot of wear and tear, so drilling into them can be challenging. You’ll need plenty of patience and a steady hand as you work your way through the process. Don’t be tempted to rush, or you could permanently scar your surface.
- If you’re drilling into a porcelain tile, get your hole started by placing a concrete nail or center punch on the mark on your tape. Tap it lightly with your hammer just enough to take some of the glaze off the tile to make it easier for the drill bit to slide in.
- Line up your carbide or diamond-tipped drill bit with your mark. Start drilling gently and slowly to make sure your hole ends up exactly where you need it. Fast speeds create a lot of friction all at once, which can dull a carbide bit or even end up cracking the tile. You want constant gentle pressure for at least the first two or three seconds as your drill bit works its way through the glass glaze.
- Once your drill bit has made a shallow groove in the tile, it will be better able to cling to the tile material. At this point, you can increase your pressure and drill speed a little although you still shouldn’t go full blast.
- Carbide-tipped drill bits are prone to overheating, which can wear them out quickly. Try to keep your carbide bit running cool all the time. If you feel it start to overheat, splash some water onto it or dip the carbide tip into your container of cutting oil. Never let the water or oil get on or around the motorized part of your drill. You may need to cool down a carbide bit after every 15 to 30 seconds of drilling. Make sure you wipe any water or oil residue off the bit before you resume drilling.
- Diamond-tipped bits are a lot less high maintenance. They won’t damage as easily with heat and friction. If you feel your diamond bit getting hot, just give it a few seconds to cool down before you continue.
- Once the drill bit cuts all the way through the tile, you’ll feel the resistance change. That’s how you know it’s time to replace your diamond or carbide bit with a standard bit more suitable to whatever material lies behind the tile. If you keep using a heavy-duty bit on a soft wall, you can rip open the hole more than you need to, which can result in loose wall anchors and a flimsy hardware installation.
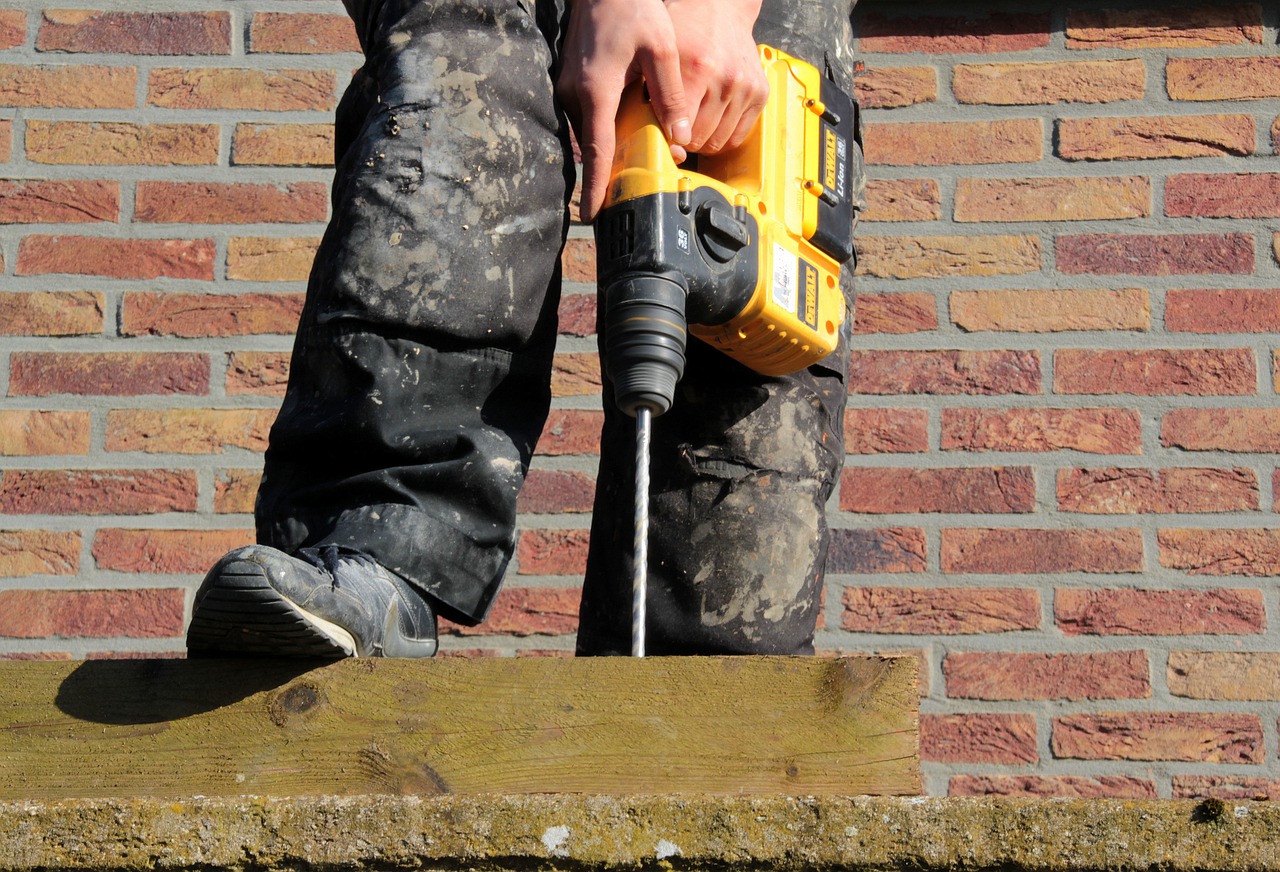
- Unless your wall is made of stone or some other exceptionally hard material, use your standard twist bit and a slightly higher drill speed to extend your hole into the wall as much as necessary.
- When you feel your hole is deep enough, rip the tape off the tile, vacuum up any dust residue and work the wall anchor into place so that you can mount your hardware.
Drilling a Larger Hole With the Drill-and-Tap Method
If you’re installing a plumbing stub-out or other hardware that requires a hole larger than your biggest drill bit, here’s a little geometric trick you can use if you don’t have a carbide hole saw kit.
- With your measuring tape and marker, draw a circle on the tile outlining exactly where you want the large hole to be.
- Use the above technique to drill a series of small holes close to each other around your marked outline.
- Lightly tap around the inside of the perimeter of your circle of holes with your hammer. Be patient; this can take a few minutes. Eventually, after enough gentle taps, the center of your circle of holes will break apart from the rest of the tile. The edges might be a bit rough, but you can use a decorative plate to hide them if necessary.
- The drill-and-tap method works beautifully whether you need a circular, square or rectangular hole in your tile.