


It’s easy to transform your garage from simply the place you keep your car into a veritable amateur auto shop. A relatively small investment of time and money can gain you the tools and knowledge to DIY simple repairs and maintenance. This can develop quickly into a worthwhile hobby.
Maintaining your own vehicle is a rewarding and money-saving endeavor. With the hourly rates of auto mechanics where they are, it can cost an arm and a leg to have someone else perform even the most basic car maintenance tasks. Luckily, only a few tools and a little know-how are required to handle things like oil changes, fluid changes, and other simple jobs.
We are not advocating that you attempt an engine overhaul in your garage (unless you’ve got the experience). But if you want to improve your relationship with your vehicle and understand what makes it work, there are a number of jobs you can do at home.
In order to do the work, it’s important to have the right car tools for the job. Here are a few things you’ll need to get started.
Impact Wrench

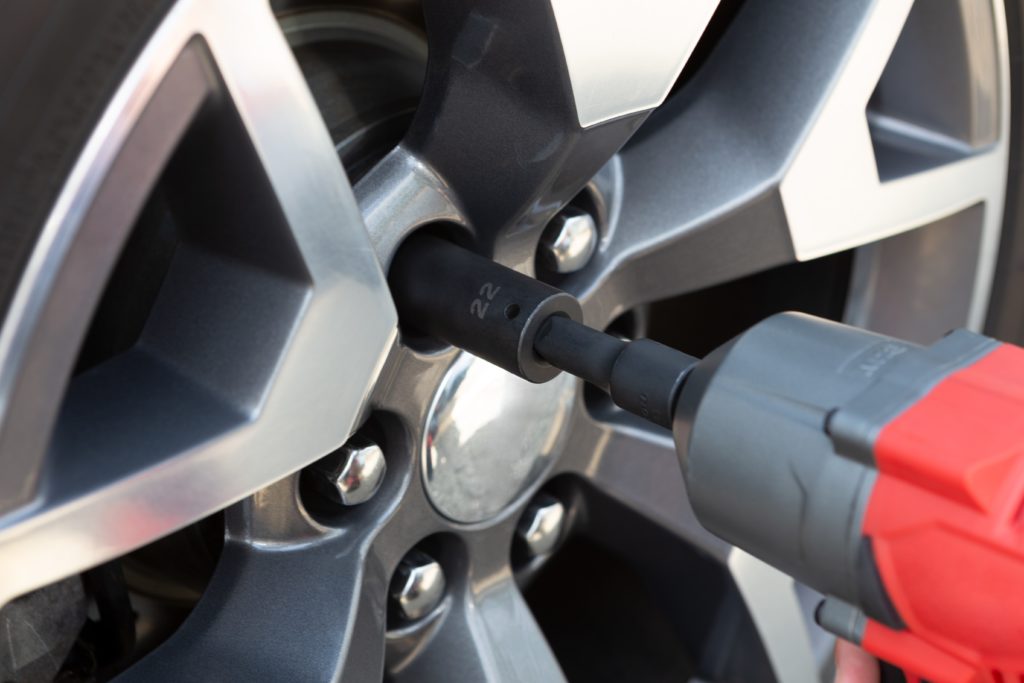
That spinning, squealing sound you hear in professional garages? That’s the sound of an impact wrench, one of the most important tools in the arsenal of anyone who works on cars. Impact wrenches go by many names: air wrench, rattle gun, torque gun, impactor, etc. Some might run on electricity, but the more common variety works with compressed air. Cordless electric impact wrenches are becoming more and more popular, though.
An impact wrench delivers high torque output without requiring much force from the user. It looks like a thick handheld drill and can be fitted with a socket to extract or install nuts and bolts. An impact wrench is not a replacement for your standard socket wrench, however, as there is not enough room to reach some of the bolts. For those, you’ll need a socket wrench, and you’ll have to torque it with your own strength.
If you choose an impact wrench that runs on compressed air, you’re also going to need an air compressor. Make sure it puts out at least 4 cubic feet per minute of air at 90 psi.

- 【𝗨𝗹𝘁𝗶𝗺𝗮𝘁𝗲 𝗘𝘃𝗼𝗹𝘂𝘁𝗶𝗼𝗻: 𝗘𝘅𝘁𝗿𝗲𝗺𝗲 𝗧𝗼𝗿𝗾𝘂𝗲 𝗣𝗲𝗿𝗳𝗼𝗿𝗺𝗮𝗻𝗰𝗲 𝘂𝗽 𝘁𝗼 𝟭𝟯𝟬𝟬𝗡.𝗺】Our CORANEX 1/2 inch high torque impact wrench delivers an industry-leading 1300N·m (960 ft-lb). It effortlessly removes stubborn lug nuts, suspension bolts, tackling the toughest automotive and construction jobs. Whether you're a professional mechanic working on trucks/cars or a DIY enthusiast, this cordless impact wrench is built to tackle your most demanding tasks with unmatched speed and reliability
- 【𝗭𝗲𝗿𝗼 𝗗𝗼𝘄𝗻𝘁𝗶𝗺𝗲: 𝗣𝗼𝘄𝗲𝗿𝗲𝗱 𝗯𝘆 𝗗𝘂𝗮𝗹 𝗕𝗮𝘁𝘁𝗲𝗿𝗶𝗲𝘀 𝗮𝗻𝗱 𝗥𝗮𝗽𝗶𝗱 𝗖𝗵𝗮𝗿𝗴𝗶𝗻𝗴】Say goodbye to work stoppage from a dead battery! Our 21V impact wrench kit includes two high-capacity 4.0Ah batteries and a rapid charger. This two-battery system ensures your cordless impact driver is always ready for action, making it ideal for extended projects like full tire rotations or complex home renovations. The rapid charger gets you back to work quickly, maximizing your productivity
- 【𝗕𝗮𝗻𝗶𝘀𝗵 𝗗𝗮𝗿𝗸𝗻𝗲𝘀𝘀: 𝗖𝗿𝘆𝘀𝘁𝗮𝗹-𝗖𝗹𝗲𝗮𝗿 𝗩𝗶𝘀𝗶𝗯𝗶𝗹𝗶𝘁𝘆 𝗳𝗿𝗼𝗺 𝘁𝗵𝗲 𝗕𝘂𝗶𝗹𝘁-𝗶𝗻 𝗟𝗘𝗗】Our cordless impact wrench features a built-in LED work light that automatically illuminates the second you press the trigger. It provides a bright, focused beam right on the fastener, whether you're working under a car dash, in a dimly lit garage, or on a cramped scaffolding assembly. This essential feature ensures every turn is precise, drastically reducing errors and enhancing safety for users
- 【𝗧𝗮𝗰𝗸𝗹𝗲 𝗔𝗻𝘆 𝗧𝗮𝘀𝗸: 𝗧𝗼𝘁𝗮𝗹 𝗖𝗼𝗻𝘁𝗿𝗼𝗹 𝘄𝗶𝘁𝗵 𝗠𝘂𝗹𝘁𝗶𝗽𝗹𝗲 𝗠𝗼𝗱𝗲𝘀 & 𝗔𝘂𝘁𝗼-𝗥𝗲𝘃𝗲𝗿𝘀𝗲】Our CORANEX 1/2-inch impact wrench offers superior control with 4 adjustable modes, providing multiple torque settings for different applications. The intelligent brake stop in reverse mode prevents nuts from flying off, ensuring a safer and more organized workspace. Its ergonomic design reduces user fatigue, while the robust construction guarantees long-term durability. This all-in-one impact wrench delivers power and versatility
- 【𝗣𝗲𝗿𝗳𝗲𝗰𝘁 𝗖𝗼𝗺𝗯𝗼: 𝗥𝘂𝗴𝗴𝗲𝗱 𝗜𝗺𝗽𝗮𝗰𝘁 𝗪𝗿𝗲𝗻𝗰𝗵 𝘄𝗶𝘁𝗵 𝗙𝘂𝗹𝗹-𝗦𝘆𝘀𝘁𝗲𝗺 𝗦𝘂𝗽𝗽𝗼𝗿𝘁】Your investment includes everything you need to start working immediately. The kit contains: 1x CORANEX High Torque Impact Wrench, 2x 4.0Ah Batteries, 1x Fast Charger, 10x Most-Used Sockets, 1x Extension Rod, a Durable Tool Case, and a User Manual. We stand behind our product with reliable customer support. This comprehensive package offers incredible value, saving you the hassle and cost of purchasing accessories separately
Floor Jack
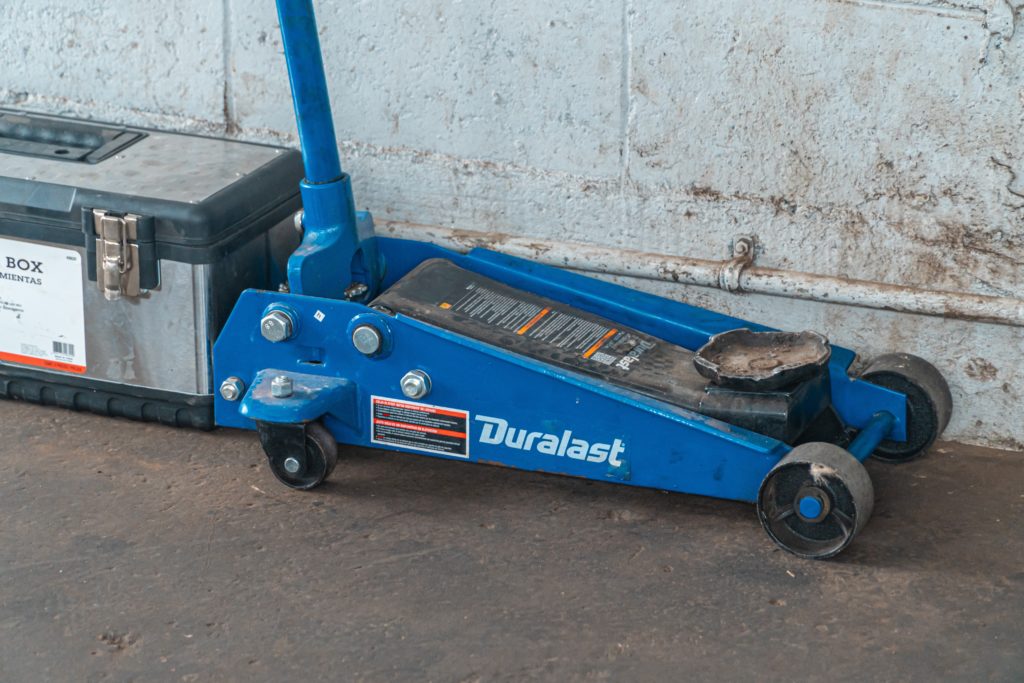
Almost every job you perform on your car requires it to be lifted off the ground. But you don’t want to use that flimsy scissor jack in your tire change kit. Performing even routine maintenance calls for a floor jack, which is sturdier and stronger.
That scissor jack in your emergency roadside kit is not designed for heavy, repeated use. It’s intended only to lift and hold the car for brief emergency roadside maintenance.
Bottle jacks and high lift jacks are not suitable, either. What you need is a floor jack. A floor jack rated heavy enough for the vehicle allows for easy lifting. The wheels on the jack allow for adjustment as the lift point moves since only part of the car is off the ground.
In selecting a floor jack to keep among the car tools in your garage, you’ll want to pay attention to the following:
- Lift capacity: This is the single most important factor. Make sure the jack is more than strong enough to lift your vehicle.
- Quick or standard lift: Quick lift jacks lift quicker. They’re also usually a little more expensive.
- Lift range: If your vehicle has very low ground clearance, some floor jacks may not be low enough to get under the jack points. If your vehicle has high ground clearance, some floor jacks won’t rise high enough to get it comfortably off the ground.
A note of caution here: Don’t rely on your floor jack to hold the vehicle once it’s off the ground. Rather, once it’s at height, secure it with jack stands. Never, never count on the jack alone to hold a vehicle. Even the best jacks can fail, with dangerous or disastrous results. Use jack stands.

- Floor transmission jacks will help you get your transmission in and out with ease.with the hydraulic hand pump, Powder-coated finish prevents rust
- LOW PROFILE DESIGN allows for a lift range from 9.6 to 27.8in.1000 LBS CAPACITY to help remove and install most transmissions
- FOUR SWIVEL BALL-BEARING CASTERS for ease of mobility
- VERSATILE SADDLE DESIGN allows for total adjustments in every direction.Universal mounting head with a wide forward and aft tilt, making positioning easy.
- Equipped with 2 360-degree swivel casters, delivering smooth and precise movements.
Automotive Parts Washer
Parts washers are designed to clean metal parts and car tools, so they work as well as possible. They’re a must-have in any quality home garage. Anyone who has much experience working on motor vehicles can tell stories about how dirty or contaminated parts can damage a vehicle.
That might mean not only that your work on that particular job has been wasted but also that you now have more work to do thanks to the consequences of installing dirty parts. A quality automotive parts washer will remove dirt, grease, grime, oil, grit, and other contaminants so that the part can be confidently installed.
Parts washers use either solvents or water to do the cleaning. With a solvent-based automotive parts washer, chemical solvents are employed. These are more common in commercial garages where lots of parts need to be cleaned every day or cleaned at lower temperatures. Solvent-based parts washers are rare in home auto shops.
Water-based parts washers, also called aqueous washers, make use of pressure, higher temperatures, soap, and agitation to clean off contaminants. They require less maintenance, and you won’t have to worry about disposing of harsh chemicals.
Another consideration surrounding automotive parts washers is whether to choose a portable or stationary model. Each of these comes with advantages and disadvantages. The one you select basically comes down to preference and the types of jobs you’re doing, but most home garages go with stationary, water-based automotive parts washers.

- FLOW-THRU PARTS BRUSH WITH TUBE+180 DEGREE ROATING NOZZLE: Designed for circulating washing.Heavy-Duty grooved handle. 28-Inch (71-Centimeters) Long Tube.The flexible metal nozzle is ideally used to guide the cleaning agent to the parts which need to be cleaned
- SELF-LOCKING FUSE+REMOVABLE BASKET:The lid will be automatically capped when the washing machine's operating temperature exceeds the safe limit, safty ensure in case of fire.Equipped with parts cleaning basket, ideally worked for small parts storage.
- CLEANING FLUID CAN BE RECYCLED: The cleaning fluid through the pump from the pipe, cleaning solvent can be recycled through the pump, pump has a filter, can filter the use of impurities in the cleaning fluid
- HIGH FLOW PUMP: 5-1/4GPM high flow parts washers pump,ability to clean all types of parts efficiently and quickly,such as screws, bearings, gaskets, suitable for all kinds of working environment,such as auto repair shop,the construction site
- STURDY STEEL+ANTI-RUST COATING:Redsun parts washer cleaner were made of sturdy steel,the powder coating can resist rust and corrosion.However, we do not recommend the use of volatile solvents such as gasoline
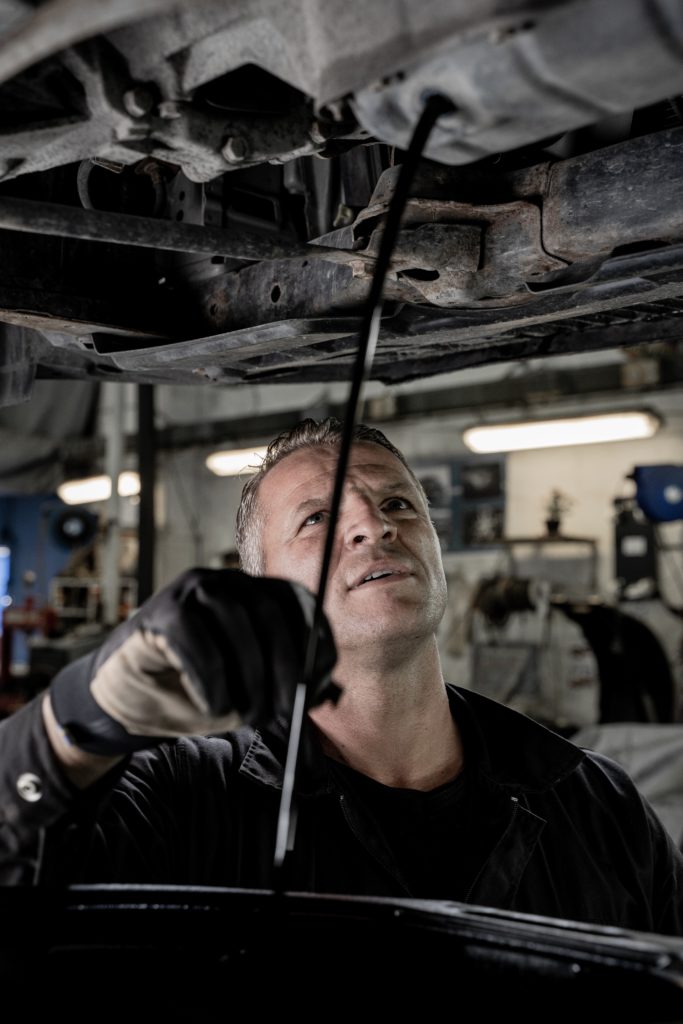
Oil Catch Pan
If you’re going to be performing maintenance on your vehicle at home, that likely means changing fluids. When you drain the oil from your engine or transmission or the coolant from your coolant system, you’ll want to drain it into a catch pan, also known as a drip pan. Without one, you’re going to make a big mess.
A drip pan is essentially a low-profile bucket designed to fit under the vehicle. They have a lip or spout so they can easily be emptied into a receptacle so that you can dispose of the fluids later.

- TWO-IN-ONE: This Performance Tool W4077 16-Quart Oil Drain Container serves two functions - it catches draining oil and also stows it securely away for easy transport
- HANDLES: Featuring an integrated handle for convenient carrying, pouring, and transport
- DRAIN WELL: A deep drain well with angled sides that minimize splashing and spilling during the draining process - Designed to catch oil and drain it quickly
- CAPS: Tethered plastic caps with rubber gaskets for a leak-free seal
- TOUGH: Made from durable polypropylene that will last job after job
Sockets, Wrenches, and Socket Wrenches
Of course, the most common and best-known car tool is the tried-and-true wrench. Most vehicles produced by American manufacturers use imperial measurements, while most foreign-produced vehicles use metric ones. It’s a good idea to have wrenches of both measurement types available in your garage. Of course, you’ll use socket wrenches or impact wrenches most of the time, but you need standard wrenches for tight spots.
Generally speaking, you’ll want sockets and wrenches from 1/4 inch up to 1 1/14 inch and 7 mm up to 30 mm. Choose six-point sockets for most standard jobs. These are thought to be stronger due to the inner walls setting tightly against the six sides of a bolt.
Socket wrenches come in three standard drive sizes. These are 1/4 inch, 3/8 inch, and 1/2 inch. For your home garage, you’ll want at least one 1/4-inch socket wrench for small bolts and tight spots and one 1/2-inch socket wrench for larger bolts. And you’re going to use the 3/8 drive the most, so get one of those, too.


- Durable CR-V with Reinforced Walls:Our CR-V sockets deliver unparalleled reliability and safety by fundamentally eliminating the bursting risk common in thin-walled carbon steel models. This is achieved through the powerful synergy of superior chrome-vanadium steel and a robust, thickened inner wall design.
- Premium quality: Our tool set are all made from premium quality chrome vanadium steel alloy, and its mirror chrome plated finish perfectly achieved outstanding strength and wear resistant.
- What you get: Our small socket set included 21pcs bit sockets: SL4,5.5,7, PH1,2,3, PZ1,2,3, HEX 3,4,5,6,7,8; T10,15,20,25,30,40 and 13pcs 1/4 DR metric sockets(4-14mm): 4, 4.5, 5, 5.5, 6, 7, 8, 9, 10, 11, 12, 13, 14 mm; 1pc 1/4 quick ratchet handle.
- Multi extension bars: This ratchet wrenches set included multi extension bars is suitable for various scenarios: 1pc 1/4"dr universal joint, 1pc 1/4"dr × 2" extension bar, 1pc 1/4"dr × 4" extension bar, 1pc 1/4"dr × 6" flexible extension, 1pc 1/4"dr sliding t-bar, 1pc 1/4"dr sliding t-bar, 1pc 6" spinner handle and 1pc-bit adapter.
- Wide application: This socket wrench set is perfect for home improvement, carpentry tools, construction, auto repair, woodwork, and other DIY projects. This tool makes for a beautiful unique gift for men on various occasions like Father's Day, Birthday or anniversary.
Lights and Headlamps
Don’t forget the lights! It’s dark under that car, and it’s dark in that engine bay. Granted, you’re not likely to need any special lighting for a basic oil change, but the need to be able to see what you’re doing cannot be overestimated. You’re going to want at least one of each of these:
- Clip-on light: to clip to the hood and shine down on the engine.


- Versatile and Portable - The magnetic work light features a 360° vertical rotation and 180° horizontal rotation design, offering multi-angle illumination. With its compact foldable dimensions of 7 x 1.4 inches, it can be carried with you, lighting up the workspace anytime, anywhere.
- 5000mAh Rechargeable - The rechargeable work light has a Type-C charging port to charge the built-in 5000mAh battery, and USB-A discharge ports to charge your phone, speaker. Powerful and Multifuctional.
- Advanced Lighting Design - The mechanic light produces a powerful 1200 lumens. Designed with three light sources: the White Light Bar, Warm Light Bar, and Front Flashlight, combined with stepless brightness adjustment. Illuminates 90% of repair environment, never miss a detail.
- Solid And Durable -Crafted from high quality aluminum alloy, the mechanic light is precision CNC machined unibody design. With complete strong magnetic stone base, ensuring unparalleled solidity and long-lasting durability in any scenario.
- Wide Application - HOTLIGH work light aims to provide high-quality and affordable work lights that can meet the demands of both professional and DIY workers. It's great for automotive repair, mechanics, etc.
- Tripod light: to set on the ground and shine up at the engine.

- Super Bright LED Work Lights: 21000LM Tripod Work Light replaces your traditional halogen bulb, which is brighter, and electricity cost-saving. 72 pcs of highly efficient LED beads per light head provide long-lasting super bright light with 6500K natural white Color Temperature, which can meet your requirements in different conditions.
- Great Flexibility: 78.7 inch Tall telescoping tripod light can be easily folded for transport or storage and adjusted to several different heights to meet your needs during work. The portable work lights are detachable and can be used separately, hanging or on the floor, very convenient. The work light weighs 11.02 pounds.
- Convenient to Quickly Install: Adjust the job site light without any tools, just rotate locking knobs or twist locking collars by hand. The body of the LED flood lights can be rotated 360° horizontally and vertically 180 ° one-way upward rotation, which allows you to easily light up wherever you need to by only adjusting the lights but not moving the whole appliance.
- Durability & Long Lifespan: The construction lights adopt Die-cast Aluminum housing helps to stay cool after the long-term operation, and ensures the safety of the working environment. Tempered glass lenses make it great weather resistant and good to prevent dust, and water from entering and accumulating ensuring work efficiency and service life.
- Stability & Widely Used: The tripod bracket light uses specific clips to link the bracket to the light body, making it sturdy, stable, and not shaking.16 ft power cord is less distance constraint, a wider space for use, not only suitable for construction site lighting but also suitable for outdoor camping And emergency lighting.
- Head lamp: to wear on your head so you can see what’s in front of you.
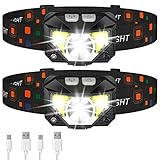
- Long Press Function and Motion Sensor: Unlike the old version, LHKNL headlamp has added a long press function. Just hold the key mode button for 3 seconds to turn off from any lighting mode—no need to cycle through all modes. It also added motion sensor mode, you can easily turn the lights ON or OFF by waving your hand, which is more convenient and avoids soiling the headlamp when your hands are dirty
- Super Bright and Rechargeable: The headlamp flashlight camping essentials uses class-leading LED chips that will provide 2X brighter high lumens, easily light up an entire tent and road. It has powerful rated 1500mAh built-in rechargeable battery, which can be able to charge and turn on the lights at the same time. No need to wait for full charge or replace the battery. And the battery indicator will help you master battery usage. Last for 4-10 hours when fully charged
- Ultra-light and Adjustable: The hand-free headlamp is only weight 1.87 OZ, comfortable and lightweight. The lamp head can be rotated 60° and tightly fixed to avoid shaking and sliding when running. The head flashlight uses comfortable elastic headband, which can easily adjust the length to perfectly fit your head size, perfect for adults and kids
- Waterproof and 8 Modes: The headlight has IPX4 waterproof rate. The high-quality shell is more sealed and leak-proof, which is suitable for rain or snow, indoors or outdoors. The led headlamp has 8 lighting modes to meet your various needs. In key light mode, you can switch the main strong beam, main weak beam, side strong beam, side weak beam, red beam, SOS red strobe. In motion sensor mode, you can switch the main strong beam and side strong beam
- Perfect Gift Choice: Are you still struggling with gift? LHKNL headlamp is your answer. Packaged in sets of two headlamps. This headlamp will be the perfect gift for your father, mother, husband, son, boyfriend on Christmas, Father's Day, Valentine's Day, Easter, Halloween, and Thanksgiving
Approachable DIY Auto Maintenance
Once you’ve acquired the right equipment, it’s time to move on to the jobs. Typically, an amateur grease monkey will start with the basics, like oil changes, brake jobs, and emergency preparedness.
Changing Your Oil

Let’s start with a simple one: Performing an oil change. At its most basic, changing your vehicle’s oil is a straightforward process:
- Lift the car, and place an oil drip pan beneath the engine.
- Remove the oil drain plug, and let the oil drain into the drip pan.
- Remove the oil cap to let the oil drain faster.
- Replace the oil drain plug.
- Refill the oil.
- Lower the car.
- Put away the car tools, and drive away.
Of course, it’s true that different vehicles take oils of different weights and viscosities (and in different amounts), and the drain plugs might have different torque settings. The relevant information for your car is in your owner’s manual.
It’s that simple for almost every motor vehicle in the world, yet most people take their cars to Jiffy Lube. It’s too bad because changing your own oil, the most basic of maintenance tasks will save you a bit of money. You might even be surprised to find that you like your car more if you change your own oil. It’s a curious thing about human nature that we tend to like and care more about the things we put work into.
Note that you’ll also want to change your oil filter most, if not all, of the times you change the oil. You don’t have to do it every time, as most filters are rated for 10,000 miles at least, but it only costs a few dollars more and doesn’t require much extra work. To remove the filter for replacement, you’ll probably want to add a filter wrench to your collection of car tools.
Replacing Your Brakes
Brake pads are most commonly made of semi-metallic compounds that are up to 65% metal. The remainder might consist of wire, copper, or steel wool. Most brake pads are designed to make a high pitch whining or squealing sound when it’s getting close to time to replace them. If you hear a squeal when you hit the brakes, it’s probably time for a brake job.
Have no fear — this is a job you can do at home:
- Raise the vehicle with your floor jack.
- Secure it with jack stands.
- Remove the tire.
- With the tire removed, you’ll see the brake actuator, which holds the brake pads.
- Remove the bolts that hold the brake actuator in place.
- Remove the actuator and set it on something so the brake line is not stressed.
- Remove the current brake pads by slipping the clips off the actuator.
- Install the new brake pads.
- Lightly spray the brake rotors with brake cleaner.
- Reverse the process, and the brake squealing will be gone.
If you’ve waited too long to change the pads, you might need new rotors as well. This is a slightly bigger job, but you won’t need any extra tools to do it.
Emergencies Away From the Garage
You won’t always be able to do the job in the comfort of your garage. Sometimes issues will arise on the road that must be addressed before you can drive on.
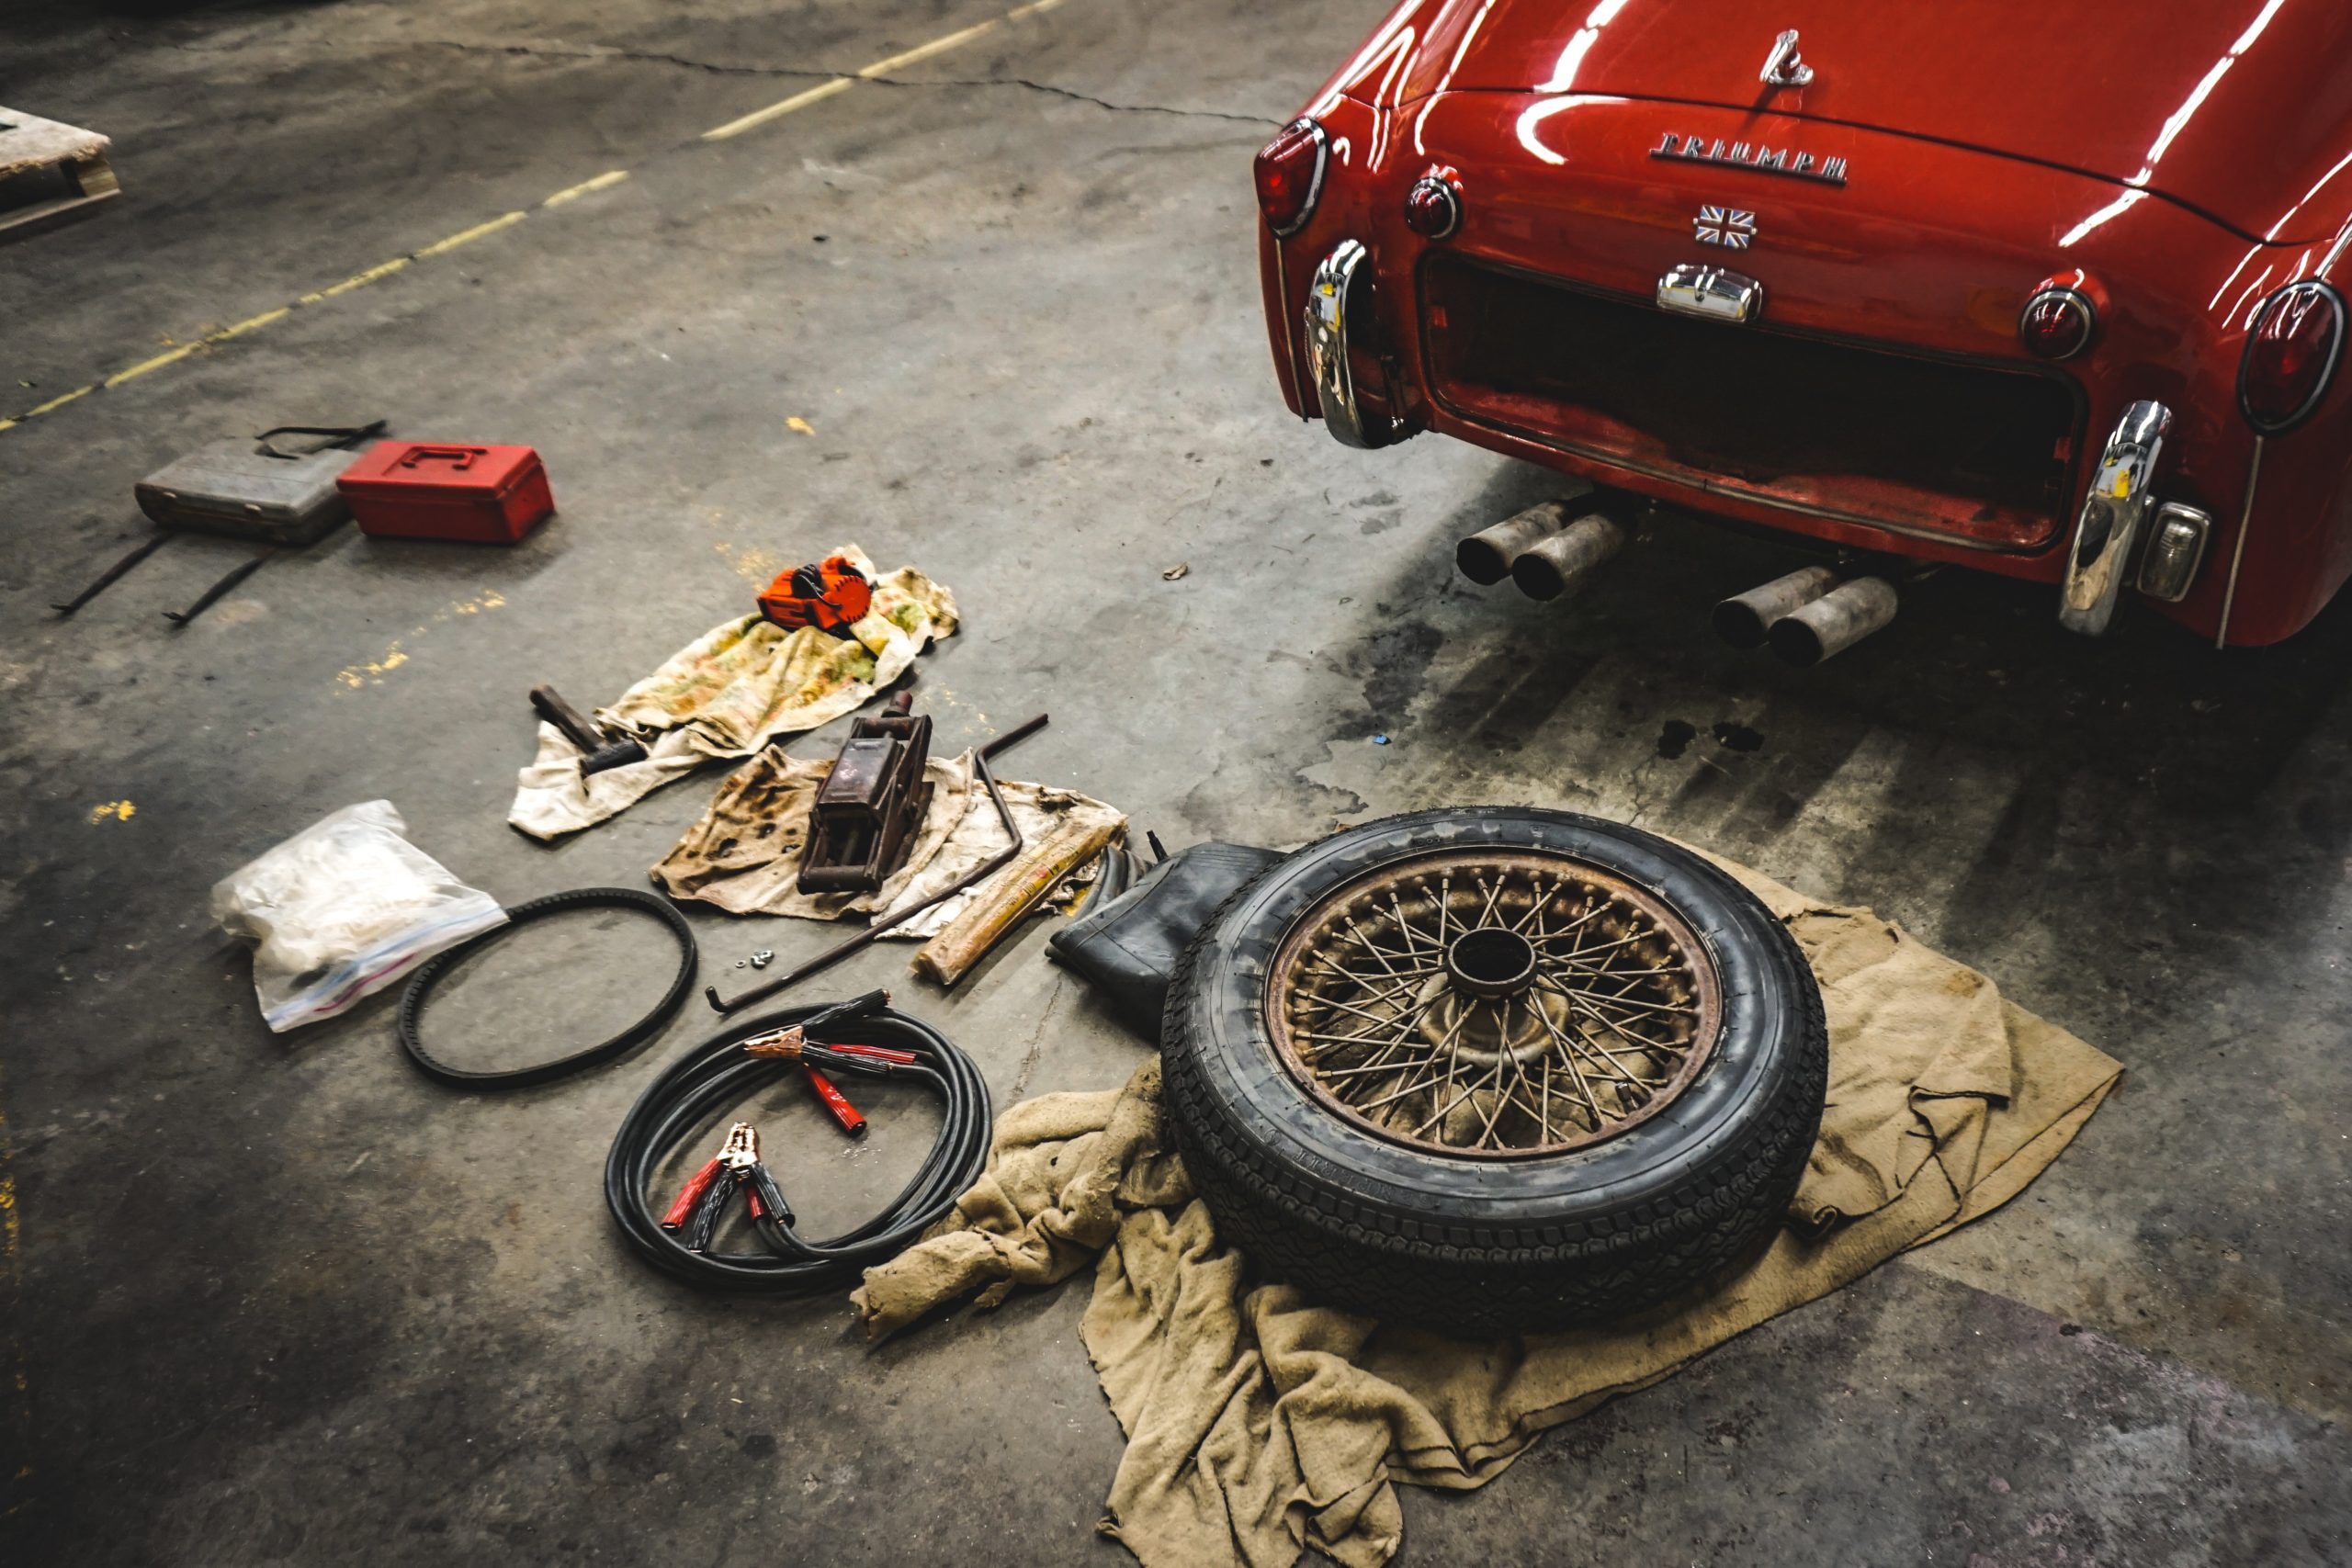
Flat Tire
Most cars come with an emergency tire change kit that includes a tire iron, a jack, and a spare tire of some kind. Usually, on newer vehicles, the spare tire comes in the form of a “donut” spare tire, also called a “space-saver,” or compact spare. These tires are good for only a short distance and only lower speeds.
The idea is that you can drive the car to a tire shop on the donut and get your full-size tire repaired or replaced before continuing on. These kits are a lifesaver in a pinch, but drivers who plan ahead will replace the jack with something stronger and replace the donut with a full-size spare, assuming there is room in the trunk for it.

- Emergency flat tire repair solution, connect, inflate and go! The easiest and quickest way to temporarily repair a flat tire in an emergency
- Fix-a-Flat is designed to seal small tread tire punctures up to 1/4 of an inch in diameter in seconds and provide enough inflation to lift the rim off the ground. Now seals 33% larger punctures and has been trusted for 50 years
- Flats happen, so be prepared with Fix-a-Flat, an easy-to-use, better alternative to the spare tire and perfect for roadside emergencies. This 16 oz can is perfect for standard tires
- With its eco-friendly formula, Fix-a-Flat is safe for the user, the tire and the environment. The old plastic cap has been tossed and replaced with a modern Performance Top, making Fix-a-Flat even more eco-friendly and easier to use
- No need for a jack, tools, or a spare tire and TPMS (Tire Sensor) safe, store in the trunk of your car and get your tire professionally repaired in 3 days or after 100 miles
Dead Battery
Let’s say you’re staying at a hotel while on the road for a few days. Before you go in, you turn on the overhead light so you can find your wallet and sort out which bags to take with you. When you leave your car — whoops! — you forget to turn the overhead light off again. You return to your vehicle in the morning and turn the key in the ignition. Nothing. The battery is dead.
This situation can be a disaster for the unprepared, but if you’ve thought ahead, you should have a portable jump starter in your vehicle. Portable jump starters consist of a strong but small battery connected to jumper cables in a case. Hook it up to your battery, turn it on, and it’ll give enough of a jolt to start the car so that you can get back on the road.
Final Thoughts
There is little more rewarding than working on your own car. With the right tools and some patience and learning, you can do the basic maintenance tasks yourself. It’ll save you some money and give you a reason to hang out in the garage. After some practice, you’ll even know what you’re looking at under the hood!


