


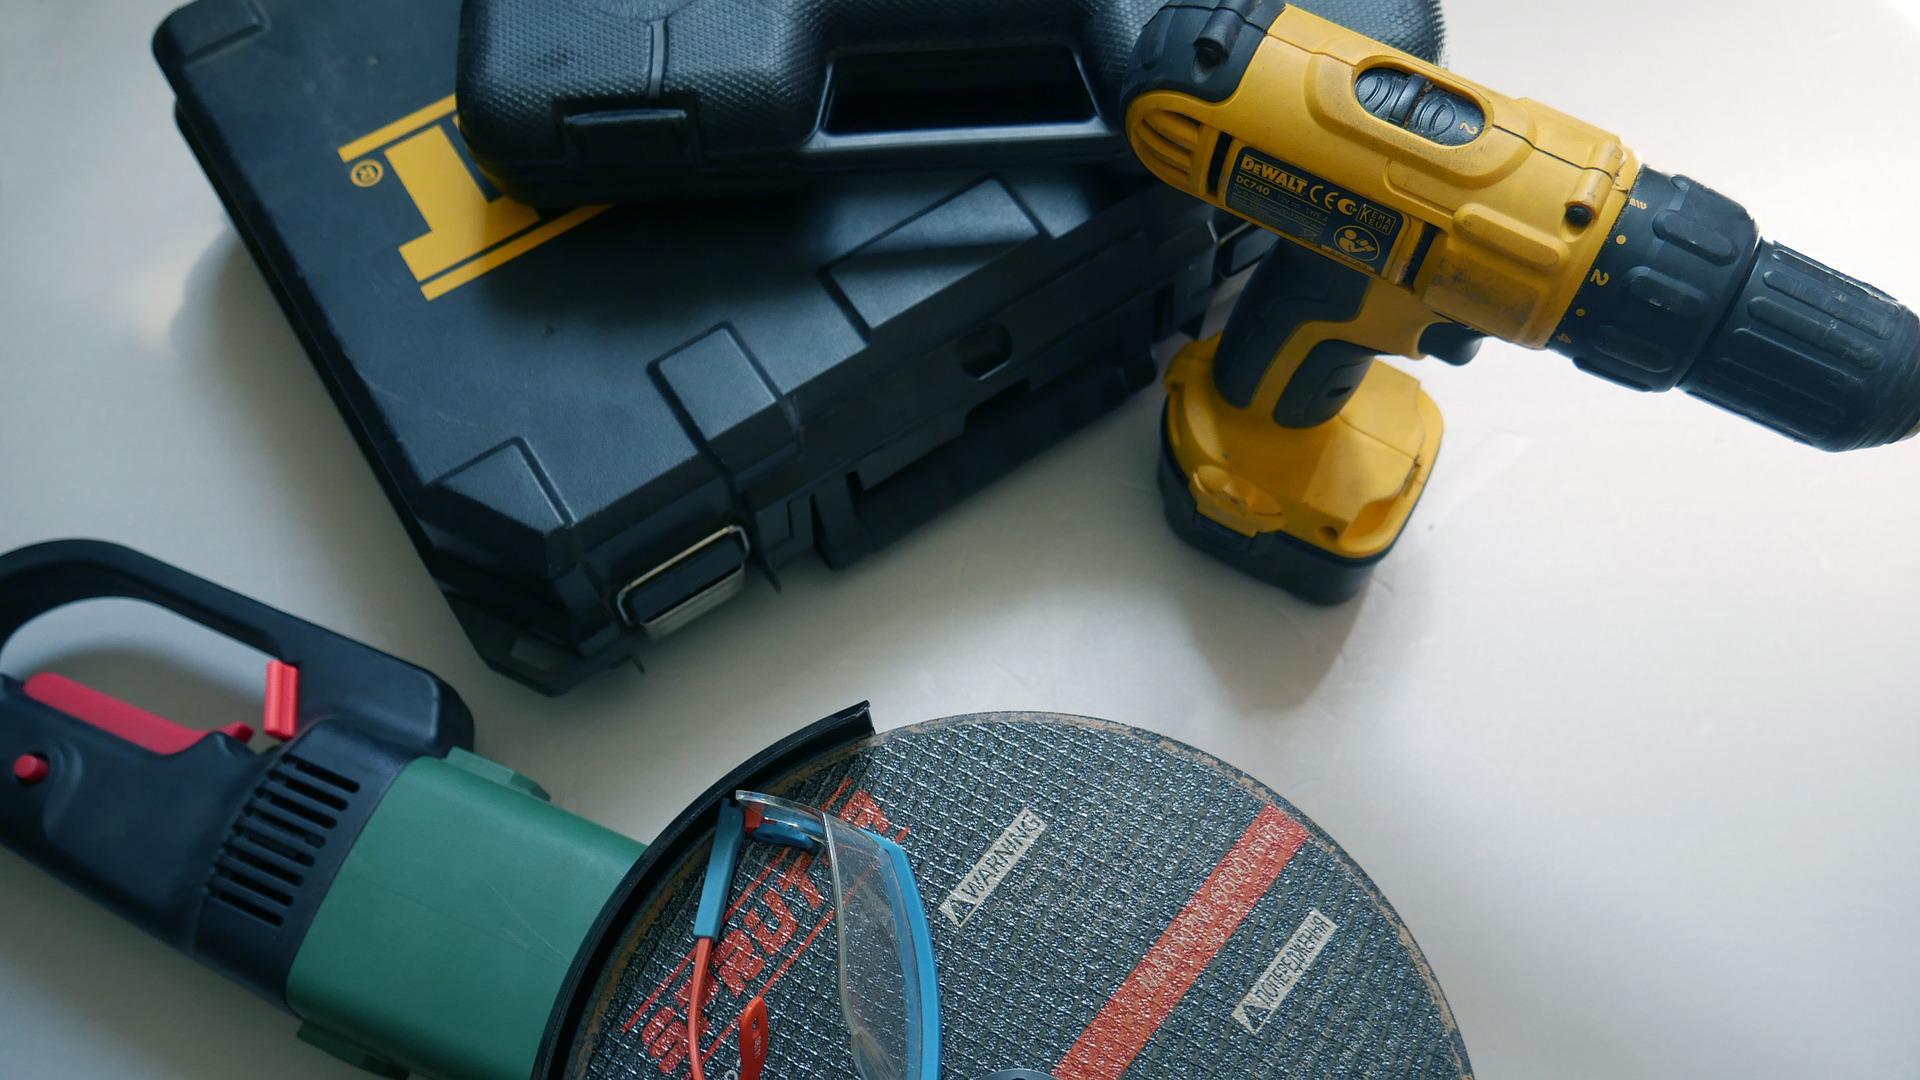
An angle grinder is one of the most versatile tools out there. When you have a sharp blade on your grinder, you can do everything from cutting tile to carving wood. The standard method for replacing angle grinder blades involves using a specialized wrench to unlock the blade. However, this helpful little tool tends to go missing right when you need it. If this happens, you aren’t doomed to use a dull blade forever. Our helpful guide will ensure you can change your blade and get back to working on your project.
Do You Need the Special Tool to Change the Angle Grinder Blade?
Before we get started on detailed instructions, it’s worth clearing up a few misconceptions. Many people make the mistake of assuming that the factory keys that come with your grinder are a necessity. They might look serious and official, but these keys are really just a helpful add-on.
An angle grinder tool is really just a precisely sized wrench for your specific grinder. It can make things slightly easier since you don’t have to dig around in your tool chest for the right wrench size. However, it doesn’t do anything that your normal tools can’t. Once you get used to swapping your blade without the tool, you might find it’s just as quick and easy.
In most cases, changing the blade without the tool won’t void your warranty either. Of course, you should always read your warranty just to be safe. However, the majority of warranties do not mention how you should change your blade. As long as you don’t break the grinder while removing the disc, you don’t need to worry about your warranty being voided.
How to Tell If You’re Missing the Angle Grinder Tool
If you’re new to working with angle grinders, you might be wondering, “what is this special blade-changing tool anyways?” Typically, you’ll get two specific keys with your new angle grinder. One of these will look like a standard wrench. The other will look similar to a tuning fork. It typically has a U-shaped exterior with two small pins on it.
If you have these tools, you don’t typically need any other equipment to change your angle grinder disc. Instead, you use the U-shaped tool, called a spanner, to loosen the flange that locks your blade in place. You only need to start improvising if you can’t find your grinder’s pin spanner. Check carefully to see if you can locate your pin spanner. Many modern grinders have a small slot on the grinder handle that will hold the spanner.
Step-by-Step Guide to How to Change Grinder Blade Without the Tool
Even the most stubborn of angle grinder discs can usually be removed in three easy steps.
1. Stay Safe When Removing an Angle Grinder Disc

No matter which removal method you use, it’s essential to exercise caution. An angle grinder can cut through metal, stone, tile, and wood, so it can definitely cut your hand. Follow these safety tips to stay safe and protect yourself.
Unplug Your Tool From the Power Source
First and foremost, always make sure your angle grinder isn’t plugged in. If it runs on a battery, be sure to remove the battery as well. This greatly cuts down on the risk of serious accidents. It ensures you can’t accidentally flip on the blade while working on the tool.
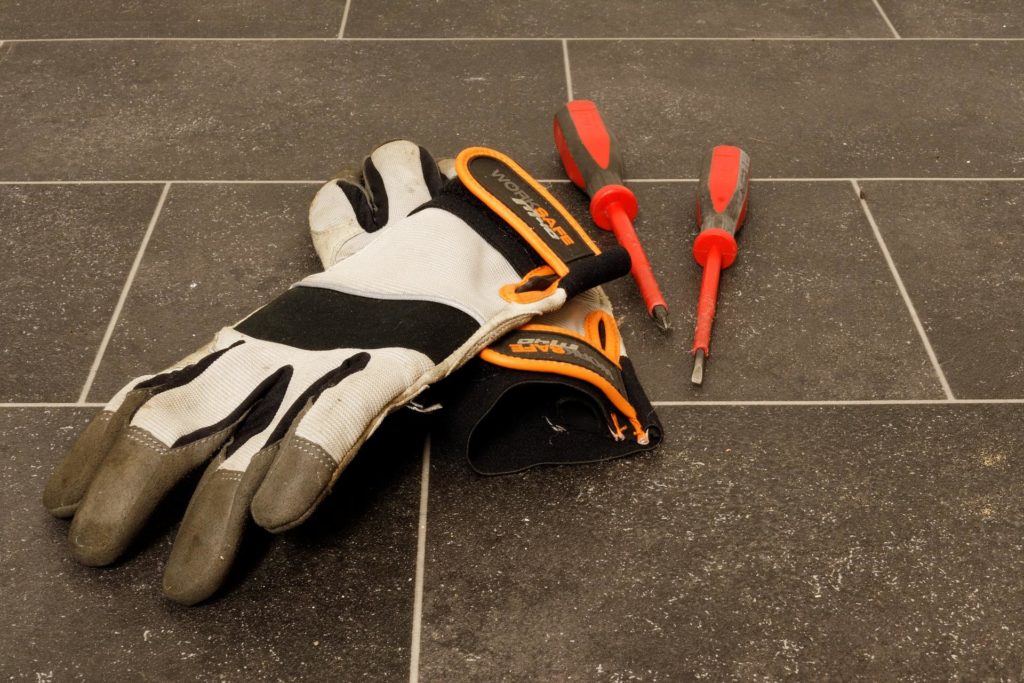
Wear Safety Gloves
The edge of an angle grinder blade isn’t razor-sharp, but it’s not dull either. In some cases, you might end up having to firmly grip the blade while you work. To avoid accidentally cutting yourself, wear a thick pair of safety gloves.


- COMFORTABLE WORK GLOVES: These Kebada mens work gloves are lightweight, flexible, dexterous and comfortable, excellent breathability keeps hands cooler, dryer and more productive, Thin feature enhances dexterity radically, snug fit to all fingers for men and womens general duty outdoor work. These mens work gloves are packed in a value 12 pairs pack, Coated with Grippy PU coating, provide extra grip when grabbing construction materials and tools for outside work.
- WORK GLOVES WITH GRIP: These delicate designed womens work gloves with grip provide abrasion protection across the palm and fingers, PU coating maintains grip in dry, wet and light oily conditions. offer you extra ability to hold objects firmly in hand, Great for construction workers. Firm grip from the coating makes them perfect box handler gloves, lightweight and breathable feature allows them to be used as gardening gloves for men, perfect for house around yard work.
- TOUCHSCREEN COMPATIBLE: work gloves with touchscreen fingers are very convenient during your house around gardening yard work use or outdoor use, no need to take off these touchscreen work gloves while operating touchscreen equipments, significantly enhance your productivity in work. These mens work gloves for outside work with phone perfectly, no interruption when answering a phone during package handling or moving boxes with these PU coated grip gloves.
- MULTI- PURPOSE MECHANIC GLOVES : Kebada Safety work gloves W1 are ideal for general light duty construction work, mechanic works, plumbing, gardening, warehouse package handling etc. Grip working gloves could be a great helper for mens womens outdoor work. Suitable for adult and youth worker who need working gloves to protect their hands, Easy to clean, machine washable, tumble dry low heat, they dry fast for next use.
- HIGHLY DURABLE WOMENS WORK GLOVES: Our Kebada Safety Work gloves are designed as adult gloves, not only great for grip mens work gloves, but also perfect for ladies work gloves use. they are lightweight, stretchable, breathable and durable. Strengthened PU coating gloves qualify for thousands of abrasion cycle test, help you endure more friction, more abrasion, significantly extended gloves life. 12 Pairs value bulk pack means you will have spares gloves for work anytime you need them.

Use Safety Goggles
Safety goggles can be helpful if you’re tool-changing gets a little overly enthusiastic. Though rare, it is possible to have your disc break and fly apart in small pieces. Wearing goggles can reduce the risk of flying pieces causing any eye damage.

- Designed for all environments, the ES4 features an adjustable nosepiece, ultralight frame and 100% visually correct lenses
- Frames are designed at an 8 to 10 base curve resulting in maximum side coverage and superior peripheral vision
- 99.9% protection from harmful UVA and UVB rays
- Lens quality and performance meet and exceed ANSI Z87.1-2003 high impact standards
- Frames and temples made of highly durable, ultra-lightweight, flexible and impact resistant material
2. Choose Your Flange-Loosening Method


There are a few different methods you can use to loosen the locking flange that holds your disc in place. The right technique will just depend on the type of grinder you have and the sorts of tools you have on hand. Depending on your situation, you might want to try one or more of the following options.
Try Mimicking the Shape of Your Angle Grinder Tool
A standard angle grinder disc key essentially fits into two holes and then rotates to loosen or tighten the flange. There are several different ways to mimic this device’s action. Here are a few common solutions:
- Cut the head off a nail, bend it into a U with pliers, and fit it into the locking nut’s holes.
- Put a bolt in either grinder hole, then hold both bolts with pliers at once.
- Measure the distance between the holes, and then weld two bolts to a plier at the appropriate distance.
Twist the Nut With Vise Grips
You can sometimes loosen the nut that holds your grinder disc in place just by firmly rotating it. If you have a pair of vise grips, try locking them on the grinder’s locking nut. Then firmly rotate them counterclockwise to remove the nut.

- Versatile curved jaw also features integral wire cutter
- Angled tooth pattern for a better grip
- Knurled adjusting screw turns easily by hand or with a hex key inserted into the hex key receiver on bottom of screw
- After initial grip is set, pliers can be tightened further by turning the adjusting screw with a hex key
Loosen the Nut With a Chisel
Sometimes, some light pressure can help loosen a stiff nut, so you can twist it off with your fingers. Try placing a thin chisel in the nut hole at an angle. Then gently tap it with a hammer to make it lightly rotate. The aim is to make the nut rotate counterclockwise until it loosens enough. Just keep in mind that this method typically damages the flange’s nut holes. Only use it as a method of last resort.

- Premium Blades: Drop forged CR-V steel with heat-treated edges ensures sharp precision and long-lasting durability, can be used to make finish or paring cuts on wood surfaces, as well as cut mortises
- Beveled Edge for Versatility: 25° Bevel edge for woodworking multi-purpose use, ideal for soft wood, hard wood, and laminated wood products
- Ergonomic PVC Handle: HURRICANE wood chisel set with Lightweight yet durable regular size impact PVC Handle, feels natural in your hand for everyday fixes, yet tough enough for mallet strikes—great for door locks or DIY use
- Safety & Portability: This four sizes (1/4"; 1/2"; 3/4"; and 1") chisel set with blade guards protects edges during storage
- Widely Function: this HURRICANE wood chisel set empowers beginners to tackle DIY projects while meeting the demands of hobbyists & Home use
Remove the Disc With Your Hands
Some angle grinders have a design that lets you skip using any tools at all. This method must only be done while wearing reliable safety gloves that are cut-resistant. Once you have your gloves, firmly twist the wheel in a counterclockwise direction. This puts pressure against the bolt in the middle, so it will gradually untwist. You may need to build up a little momentum, firmly tapping the wheel over and over, for this to work.
Roll the Disc on a Hard Surface
This method is similar to twisting the wheel with your hand, but it can be a little safer. To loosen the flange, you push the disc on the ground firmly and roll it in a counterclockwise direction. This helps to twist off the flange nut without requiring you to hit it with your hand. Just make sure you’re using a piece of scrap wood, sidewalk, or another surface that you don’t mind messing up. Keep in mind that this only works on grinders with a solid disc. If you use it on devices with flexible angle grinder discs, you might just snap off the disc.
3. Remove the Flange and Replace the Disc

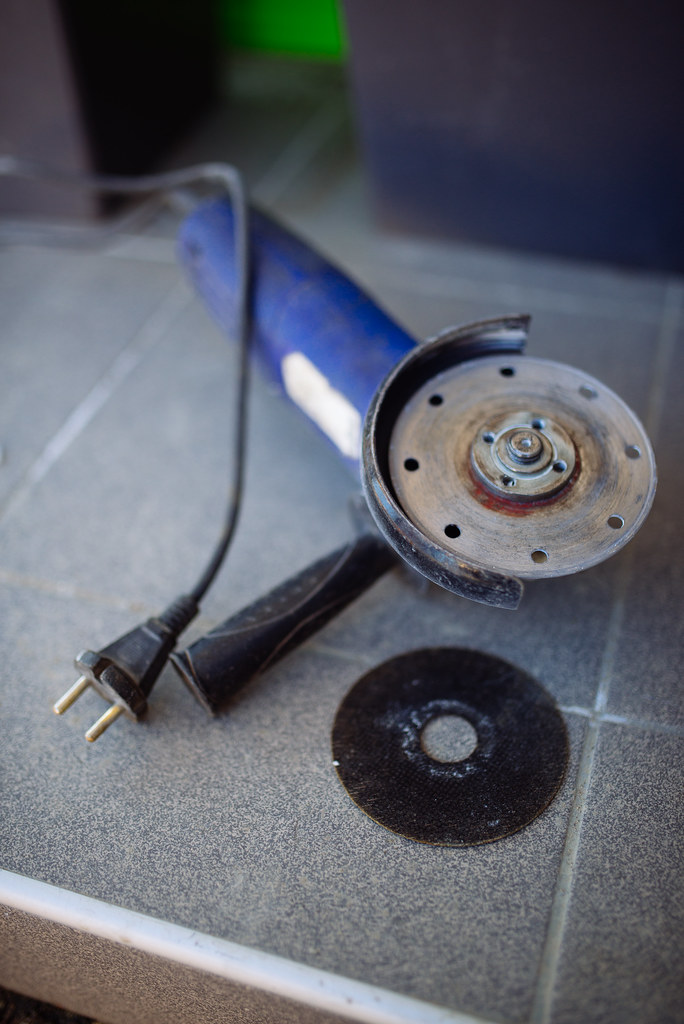
Once you have the nut in the middle loosened, the hard part of removing your grinder wheel is over. Your final step is to just finish twisting the flange off, which can usually be done by hand. After removing the flange, the disc will slide right off the center bolt. To finish replacing your disc, you just pop on a new one and retighten your flange. You can retighten the flange by reversing whatever above method you used. Twist the flange clockwise to tighten your blade in place.
Tips for Removing a Stubborn Angle Grinder Disc
Still not having any success? Check out these tips to figure out how to remove your grinder wheel more easily.
Make Sure You’re Pushing the Lock Button
Most modern angle grinders have a lock button on the top of the angle grinder. You’re supposed to push this button to lock your wheel in place while you twist the flange. So if the wheel is rotating loosely, check to see if you have a device with a lock button. You might need to push this down while also messing around with vise grips, bolts, or pliers.
Break Your Disc off the Flange
If you can’t get a grip on the flange and nut in the middle of the grinder, it might be time to try breaking your old angle grinding disc. This provides more access to the nut in the middle of your spanner, so you can adjust it with improvised tools. To break the disc, firmly grip the old disc with a pair of pliers and gently twist it. With even pressure, you can snap off parts of the disc. Keep a close eye on your tool’s housing, and quit applying pressure if you notice the central flange or any other parts starting to break.
Lubricate Your Spindle Shaft
If you haven’t used your angle grinder in a while, it might be a little stiff or rusty. It can be helpful to apply a little lubricant before you start. Apply standard WD-40 or another similar lubricant along the edge and the center of the flange. Wait a few minutes for it to drip through the mechanism, and then try to remove the flange.

- Everything you need in a professional-grade Penetrating Lubricant: Low-odor, Strong, Fast, and Targeted. WD-40 Specialist Penetrant with a Smart Straw to Spray 2 Ways
- Fast-acting formula breaks rust and corrosion that jam up parts and leaves behind a protective layer that prevents future corrosion
- If it's stuck, WD-40 Specialist Penetrant can help - nuts, bolts, threads, locks, chains, and more
- Target the smallest crevices between threads or cover large areas as easily with the Smart Straw sprays 2 ways: Regular or Precise, Wide or Narrow, Broad or Targeted
- Experts around the world trust WD-40 Specialist formula to deliver professional grade protection every single time
FAQs for Removing Your Grinder Wheel
Any of our tips let you learn how to get your grinder wheel off in a pinch. However, if you’re tired of using angle grinder hacks, you can go back to the tried-and-tested spanner. Most companies sell replacements for their customers. If that’s not an option for your model, you can get an adjustable pin spanner. This lets you set the spanner to the right width for your grinder.
Rust can make it much trickier to remove angle grinder discs. It might be hard to use techniques like gripping a pair of bolts in a plier. You’ll need to use techniques that let you exert enough pressure to break through the rust. Rolling the grinder on the ground often works well.
You might’ve come across other articles suggesting you heat the nut with a welding torch. Theoretically, this causes the metal to expand and makes the nut easier to loosen. However, we don’t recommend it. Not only can you burn yourself, but you can overheat the oil and bearings in the grinder’s gearbox. This can damage your machine and won’t be covered by the warranty.
If you’re tired of fidgeting with these sorts of methods, you do have another option. Some companies produce quick-lock flanges. These use a spring-loaded mechanism to lock in place. You remove and replace the flange simply by twisting it with your hand.
Typically, you should replace the blade if it looks damaged or is cutting slowly. If the blade has lost its abrasive surface, it’s time for a replacement. You also need to replace it immediately if you notice unusual sounds or vibrations while cutting.


