


Whether you’re a handyman at home or use tools daily for work, maintenance of your collection of tools is essential. Both electric and mechanical tools need periodic maintenance and cleaning regularly. Proper care of your tools is about more than just having a clean set of bits and bobs in your collection. It’s also about ensuring that your tools perform efficiently for the longest possible time.
Several factors are involved in the process of cleaning power tools. First and foremost, having the know-how will ensure you do things right. Then you need to have the right cleaning equipment and know when it’s best to get to work on your maintenance routines. At first, it may seem like anything but a walk in the park, but as you become more familiar with how to do it, it becomes easier – almost second nature. There is no such thing as “making do” when cleaning power tools – for safety and the best results, you must do everything correctly.
One of the most important aspects of power tool cleaning is the removal of rust and oil. Deposited rust and leaked oil can wreak havoc on your tools and destroy sensitive parts such as blades, sensors, wiring, and triggers.
This article will discuss how you can clean your power tools and remove rust and oil from them effectively. We will also explain how to store your tools properly and reduce the risk of wear and tear while the machine is not in use. To finish it off, we feature a few pertinent FAQs related to tool cleaning.
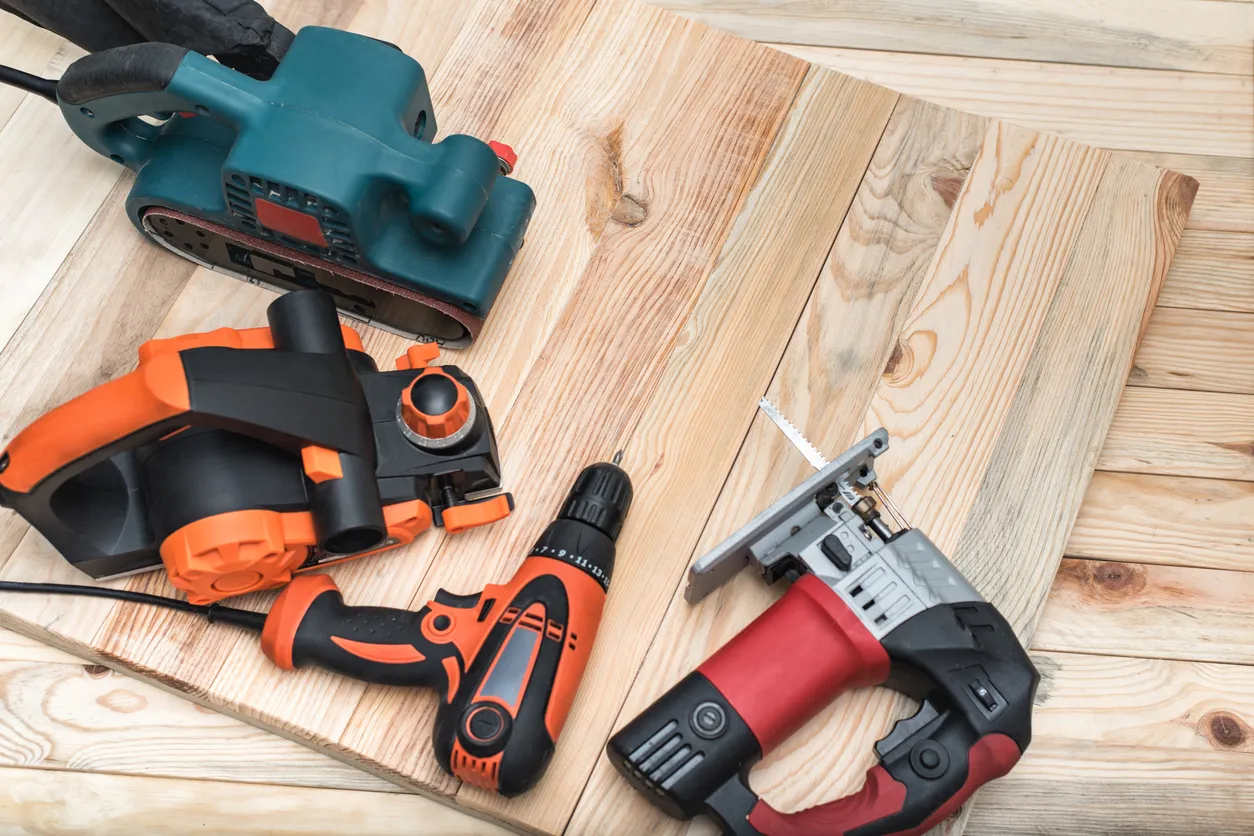
This article will cover the cleaning process, storage tips and safety instructions for these power tools:
- Miter Saw
- Circular Saw
- Jig Saw
- Hand Saw
- Cordless Drill
How to Clean Your Power Tools: Equipment, Process and Tips
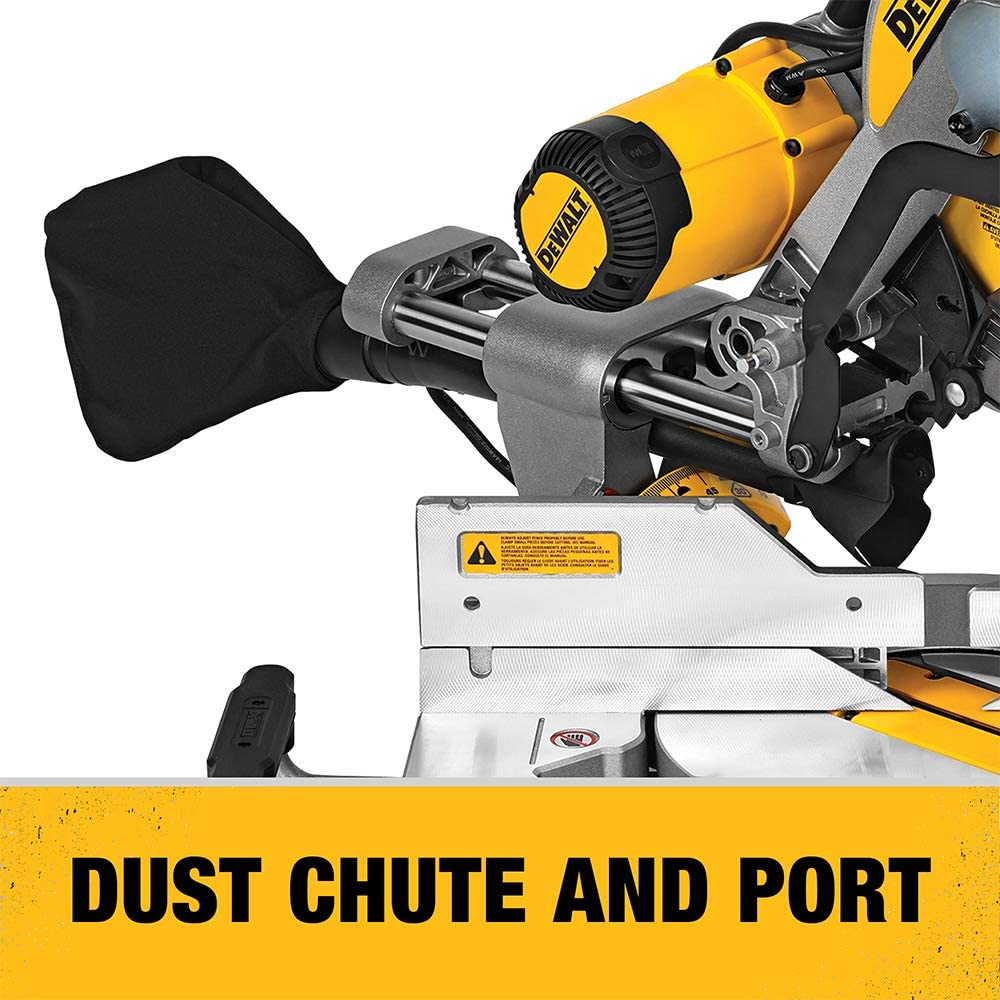
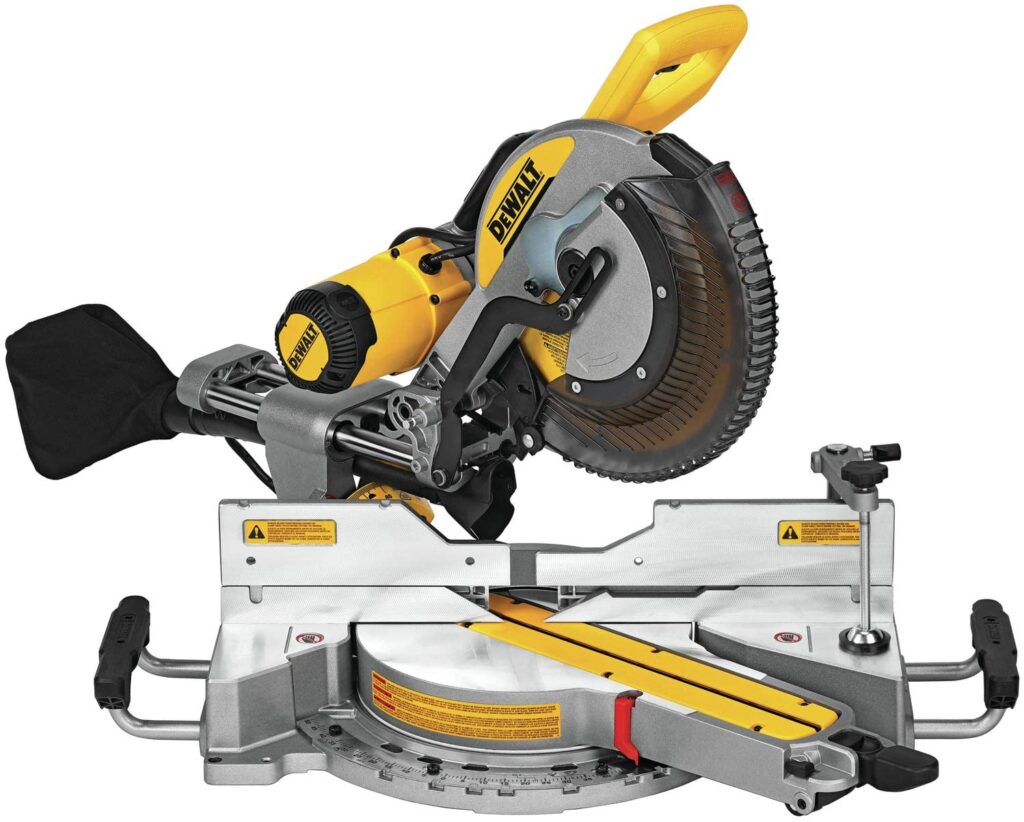
Miter Saw – DEWALT Miter Saw, 12-Inch (DWS779)


A miter saw is a valuable tool for woodwork and carpentry, allowing you to make cuts at different angles. You can use a miter saw to make cuts for crown molding, door frames, picture frames, and window casings which undoubtedly makes it one of the most prized items in your arsenal of tools. A miter saw is usually found in three different variations; compound miter saw, dual compound miter saw, and sliding compound miter saw.
If you own a miter saw, you are one of the thousands of people who do. The unfortunate part is that not many people know much about a correct miter saw maintenance and cleaning. Don’t worry if you are one of them. Our simple-to-understand cleaning guide will walk you through all the steps needed to keep your machine in mint condition. You will need WD-40, a wire brush set, lubricating oil, and a blade sharpening tool. A well-maintained and adequately cleaned miter saw gives accurate cuts and enhances the overall work quality.
- Removing Debris and Dust Particles: Your first task is to eliminate dust particles and debris from the miter saw. When you cut lumber with your miter saw, the dust particles are bound to fly around and settle on your machine’s surface and parts. The best and easiest way to get rid of the dust particles is to spray the miter saw with a can of compressed air. Hold the can at least 6 inches away from the surface of your machine and move it to and fro. Move the can closer to your saw and blow away the dust from the crevices and narrow points of the saw. Once all the dust has been blown away, clean your saw with a neat and clean cloth. You can also use a vacuum cleaner to remove dust particles if you don’t have compressed air.
- Clean the Cutting Table and Fence: Don’t forget to clean the cutting table and fence. Use a clean cloth or a sponge to remove dust and debris from the cutting table and the fence. Use a dry white scotch-brite to wipe off the metal surfaces in a circular motion. You may need to apply extra force where you find some caked-on particles. You can also use WD-40 spray to soften the stubborn particles on the surface of the table or the saw if you need to.
- Clean the Blades: Blades are the most important components of miter saws. If you don’t keep the blades clean and sharpen them regularly, your work quality will decrease. To clean the blades, you need to consider some safety precautions. Never handle a blade with your bare hands and remove the plug before touching the blades. Wear heavy-duty work gloves and use a wire brush set to remove the dust particles from the blade’s surface. If the blades have become blunt, you must sharpen them as well. Follow the manufacturer’s instructions while sharpening the blade and use proper tools. You can also use a battery-powered sharpening kit for quick, safe, and effective sharpening. After cleaning and sharpening the blades, apply some oil on the surface of the blades in a circular motion. The oil helps in lubrication, keeping the rust away, and increases the lifespan of the blade. If you feel that you can’t handle cleaning the blades, do not take any risk and hire a professional instead.
- Clean and Lubricate the Moving Parts: After dealing with the blade, divert your attention to the other moving parts of the saw. They also need regular oiling and cleaning. If you notice rust or un-removable debris, spray the parts with WD-40 and wipe with a clean cloth. Once all the unwanted particles are removed, oil the moving parts for better results and long life of the components.
- Inspect Kerf Board, Brushes, and Power Cord: Miter saws are prone to damage along the way – it’s just the nature of the work they do. No matter how vigilant you are, issues can arise out of nowhere with your saw. Therefore, you must check your saw every few weeks regardless of usage frequency. Take time to inspect the brushes for chipping, cracks, crumbling, or other damages. You should also check the power cord for any wear and tear. Sort out or replace the damaged part immediately to avoid expensive or dangerous mishaps.
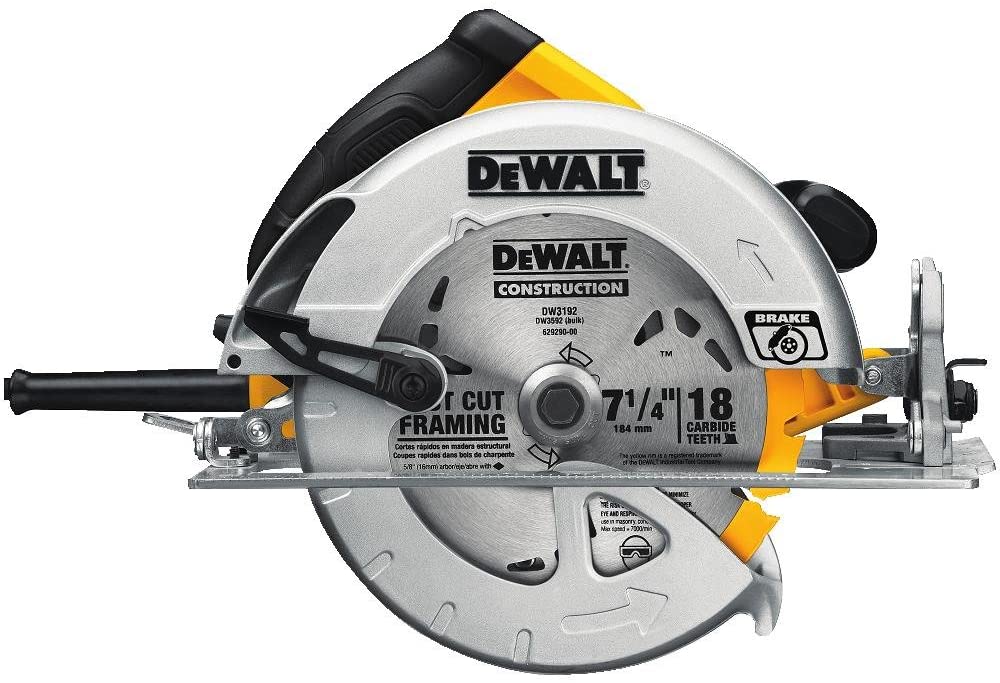
Circular Saw – DEWALT 7-1/4-Inch Circular Saw (DWE575SB)


A Circular saw is used by carpenters and DIYers for a variety of applications such as cutting logs into firewood, straight cuts, crosscuts, and creating bevels. You can also use some circular saws to cut metal.
Tools like circular saws need a thorough cleaning after every job for proper maintenance. You will need a brush, vacuum cleaner, WD-40, lubricating oil, blade sharpening tool, and a clean cloth.
- Cleaning: You must clean the machine and get rid of the gathered dust and debris after completing each job. Begin by removing the larger wood chunks with the brush. Now, turn on your vacuum cleaner, attach a narrow nozzle and remove all the smaller particles. You can also use a compressed air can, but it can push the particles further inside. If your saw has a vacuum bag, empty and clean it as well. If you frequently use a circular saw, you may need to remove the saw from the table and vacuum the inside as well.
- External Lubrication: The next step is lubricating the power tool. All the external parts need to be lubricated properly so that the machine performs at its best and lasts for a long time. You will need power tools oil. Use this oil to lubricate the sliding grooves of the side guides, the handwheel, or the lever system that allows you to raise and lower the blade. If there is a sliding mechanism in your model, lubricate it as well. You will need to lubricate any external moving part. Hence pay close attention to your machine.
- Internal Lubrication: You need to lubricate the internal parts of the saw also to get optimum performance. Some models offer complete access to the internal parts of the saw. However, the process of unscrewing the external parts varies from one model to another. Follow the user guide to take apart your saw. Make sure to wear heavy-duty work gloves while handling saw blades. Use WD-40 multi-use cleaner to lubricate the motion drive system that rotates the blades axis.
- Blade and Splitter Wedge Checkup: A circular saw’s cleaning process is never complete without a blade inspection. You can remove the blade by unscrewing the locking nut with the help of provided keys. If there are any signs of burnt wood or resin on the blade, remove them with the help of WD-40. Lubricate the blade axis with the lubricating oil. Inspect the teeth of the blades and if you notice any broken or damaged teeth; replace your blade as soon as possible. Check the sharpness of the blade. You may need to sharpen your blade depending on your work frequency. Use a sharpening kit to sharpen the blade. Don’t forget to mark the blade teeth from where you start sharpening. After blade inspection, check the cutting splitter wedge located right behind the blade. Ensure that it is perfectly perpendicular to the work surface. Reassemble all the parts and ensure that everything fits in the right way.

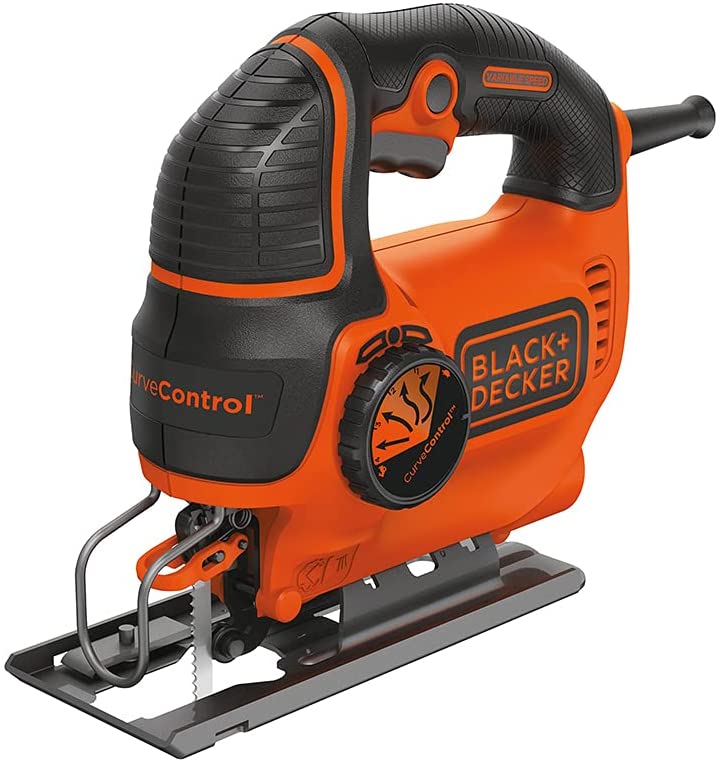
Jigsaw – BLACK+DECKER Jig Saw (BDEJS600C)


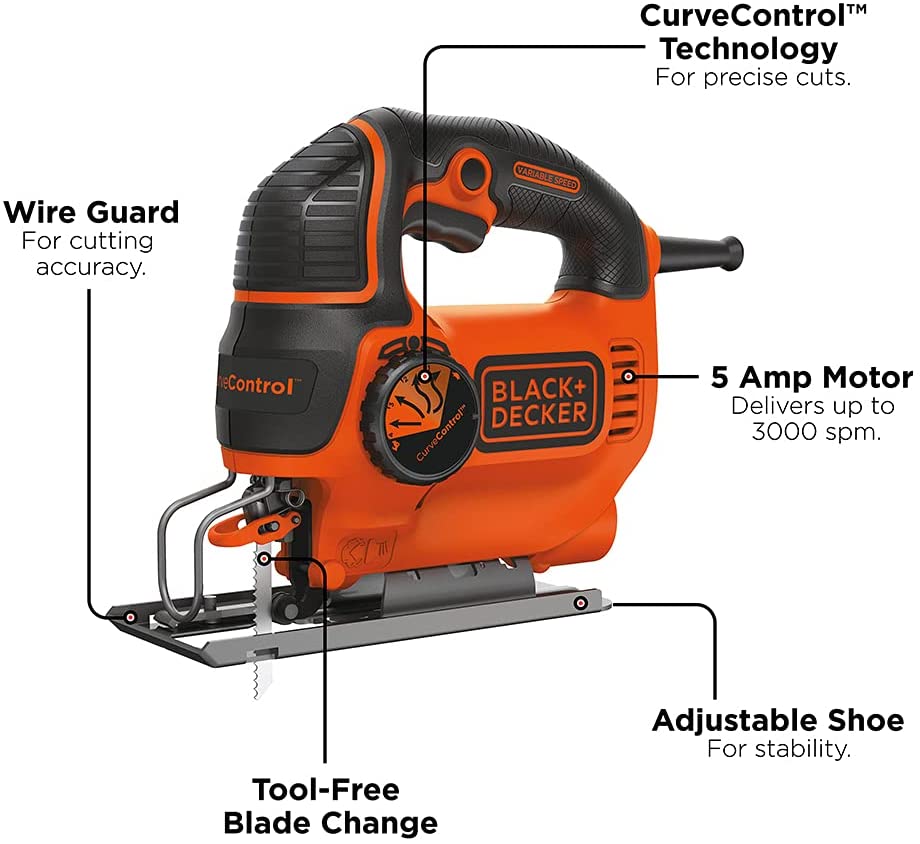
Jigsaws are used to cut shapes and curves in woods. When fitted with the right blade, you can also use jigsaws to cut steel, fiberglass, and drywall. All these features make jigsaws a versatile machine. Like all the other power tools, jigsaws need cleaning and maintenance to guarantee proper functioning and long life. You will need a key set (comes with the machine), screwdriver, pliers, lubricant, grease, vacuum or compressed air cans, and paper towels. Follow the guidelines below for basic cleaning and lubrication.
- Taking the Machine Apart: Remove the base plate of your jigsaw with the help of the L key. Now remove all the screws on the machine and place them in a small bowl so you don’t lose them.
- Cleaning the Inside: The next step is cleaning the inside of the saw. You can use a vacuum cleaner or compressed air cans to get rid of the wood particles. You can use paper towels or a clean cloth to wipe off the grease or oil inside the machine. Be careful while cleaning the machine’s insides so that you don’t damage or lose any part.
- Lubricating: After cleaning and removing all the old grease and dust particles, you need to re-lubricate all the moving parts in the machine. Some people use the old grease, but it is not recommended as it contains dust particles. Once all the parts have been re-lubricated and greased back, put back the machine’s cover and screw it carefully. Turn your machine on and give it a test run without cutting anything. Ensure that everything is working properly before storing the tool.

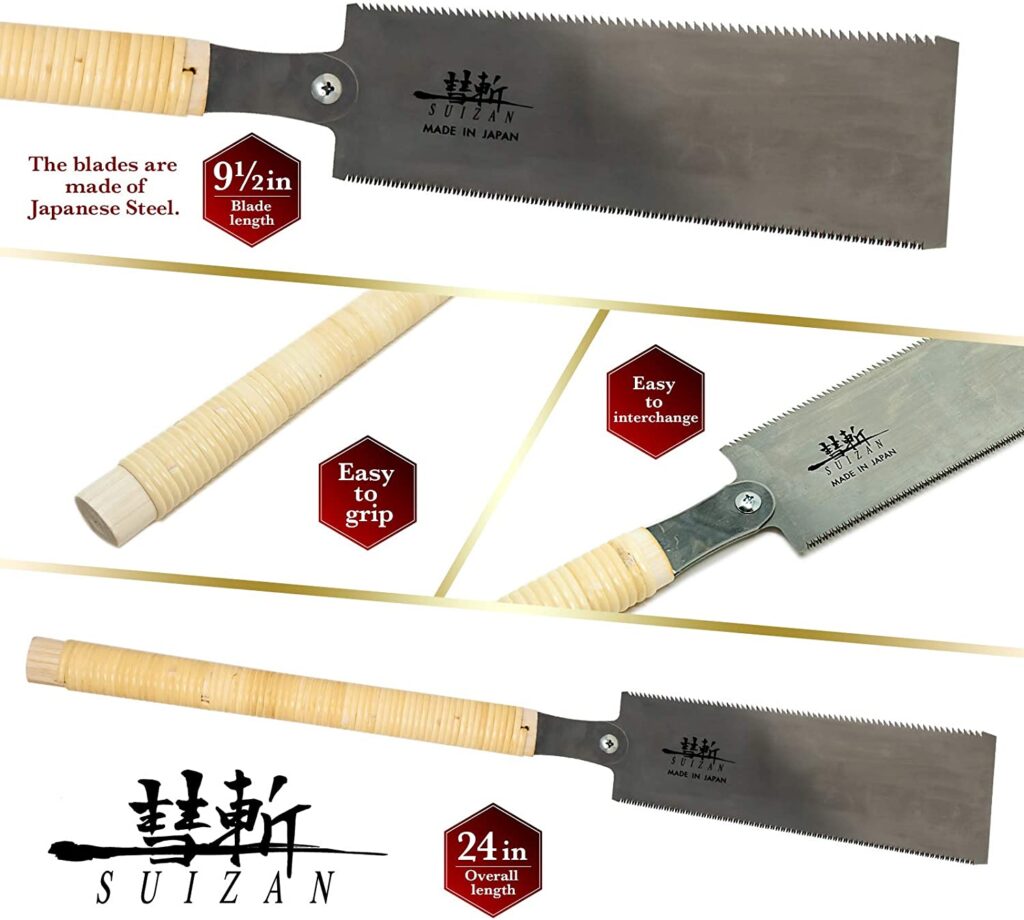
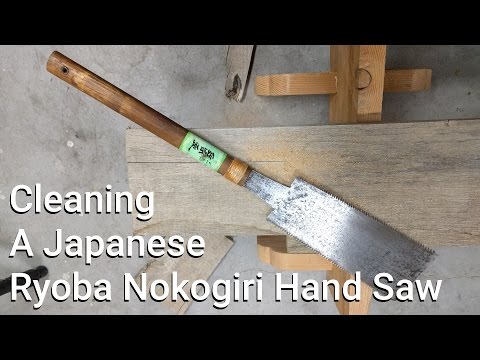
Hand Saw – SUIZAN Japanese Pull Saw Hand Saw


Hand saws are one of the oldest tools for cutting wood – they’re a firm favorite. They have been used for centuries all over the globe. Hand saws are perfect for cutting pieces of wood into different shapes. The use of hand saws has now become limited due to the availability of modern-day electronic tools. However, many DIY people buy hand saws because of budget constraints, or they don’t do much work with wood. Hand saws are prone to rust and need regular cleaning. The cleaning process is easy and will only take 10-15 minutes. You will need steel wool, wire brush set, WD-40, blade sharpening tool, screwdriver, and a piece of cloth for the cleaning process.
- Removing the Handle: Use a screwdriver to remove the handle from the saw.
- Remove the Rust: You can use steel wool or sandpaper to remove rust from the blade’s surface. You will need to rub it vigorously as the rust is a stubborn customer and won’t come off easily. Don’t use steel wool or sandpaper on the blade’s teeth.
- Clean the Teeth: The next step is to clean the teeth of the blade. Use your wire brush set to remove the rust from the teeth of the blade. Make sure you wear heavy-duty work gloves as the teeth can injure your fingers.
- Apply WD-40: After the manual cleaning, apply some WD-40 on the blade’s surface and wait for a couple of minutes. Wipe off the surface of the blade. Repeat the same process for the other side of the blade. You will notice a shining blade within just 5 minutes.
- Inspect the Blade: Blade inspection and sharpening is a very important part of tool maintenance. Check the sharpness of the blade. If your blade needs sharpening, you can sharpen the blade either manually or with the help of a tool. For manual sharpening, you will need a sharpening file, lots of time, and physical strength. However, an electric sharpening tool will save your time, elbow grease and still give excellent results.
Cordless Drill – Bosch 18V Compact 1/2″ Drill/Driver Kit

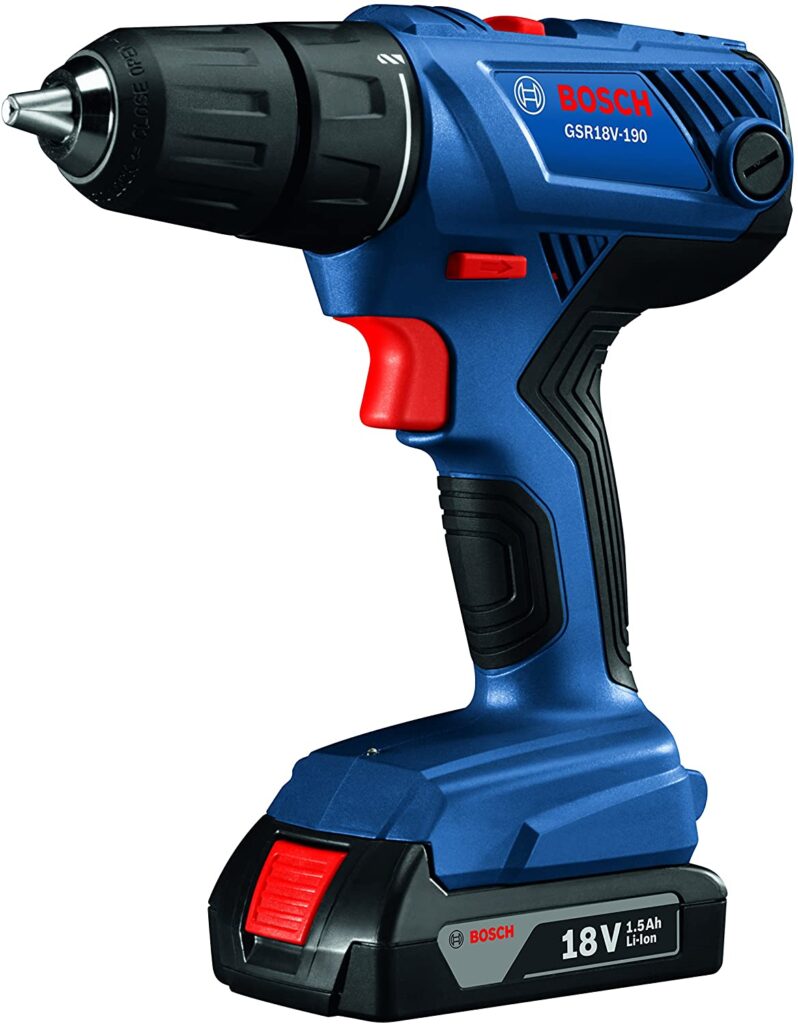

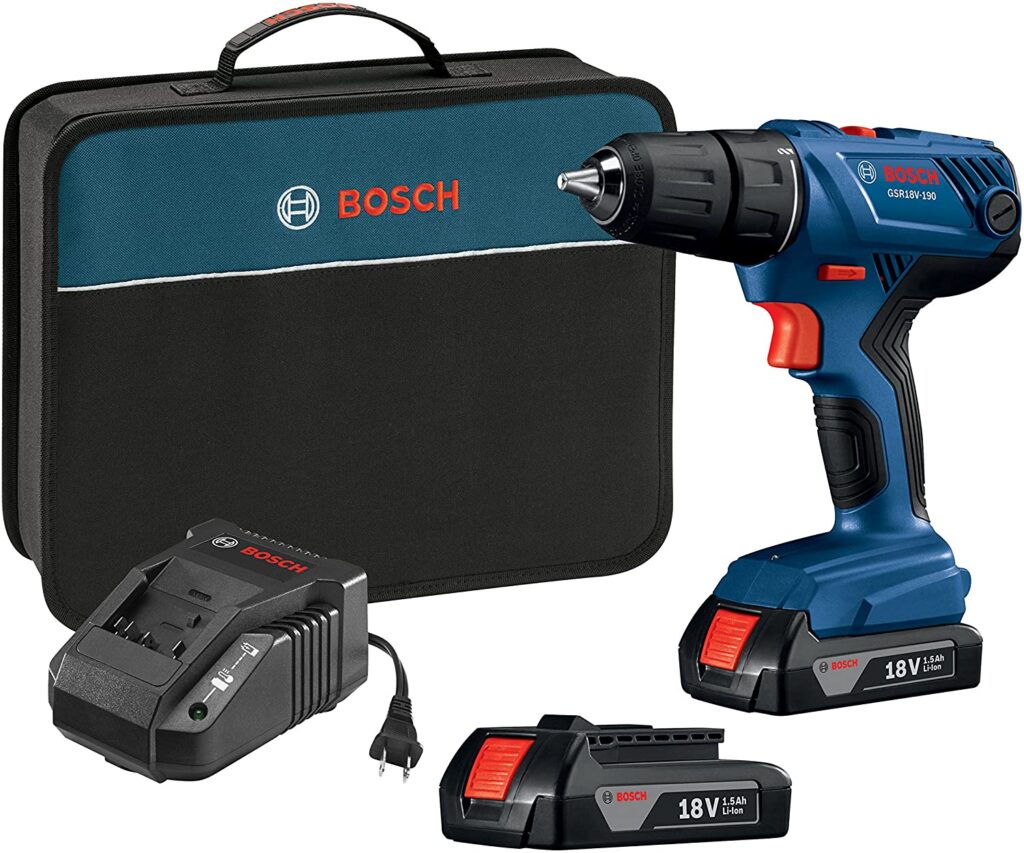
Cordless drills are handy tools for drilling holes, driving screws, mixing paints, sanding curved surfaces, and removing rust from metallic surfaces. To get the maximum out of your machine, you will need to take care of it. Cordless tool maintenance is focused on two things: cleaning and storing. The cordless drill cleaning process is not complicated. You can get the work done with a can of compressed air, WD-40, and a clean cloth.
- Removing the Battery: First of all, remove the battery from your drill and put it one side.
- Clean the Ventilation Slots: Cordless drills come with ventilation slots that help keep the motor inside cool. These slots can clog over time. If you don’t clean these slots, the blockage can overheat the motor and cause trouble. To remove the dust from the slots, you can use a vacuum cleaner or compressed air cans. Please avoid using a toothbrush to remove the dust as it will push it further inside. A vacuum cleaner is more effective than air cans because it will not push any particle forward but suck all of them.
- Lubricating: Without lubricating, there will be no benefit of cleaning your machine. Lubrication helps avoid corrosion, overheating, and friction. After cleaning the machine, ensure that the drill bit is spinning freely. If not, clean the base and chuck. Sometimes fragments get stuck there and resist a free movement of the bit. If the problem persists, the chuck may be jammed. You can spray it WD-40 to get the problem solved. WD-40 is a universal solution for solving jamming problems. However, you must check the user manual before applying WD-40. Some manufacturers don’t suggest using WD-40 with their tools. Though it is very rare, WD-40 can cause more problems than it can solve.
- Check the Battery and Battery Charger: Inspect the removed battery and the charger. Use a can of compressed air or wipe them off with a clean cloth to remove dust or debris.

How to Remove Rust from Power Tools
Metal is prone to rust. Most people don’t follow manufacturer instructions for storing the tools and end up having rusty tools quite often. Well, the good news is that with the help of appropriate tools and some elbow grease, you can get rid of the stubborn rust on your tools and get new-like tools in a short time. Tools like a table saw with a metallic workbench are the most common victims of rust and corrosion. You not only have to remove the rust but also protect them against corrosion.
To remove the rust from your tools, you will need the following tools:
Follow the steps below to remove rust from your power tools.
- Scrub the Surface: The first step is to scrub the surface with steel wool or sandpaper. Both work well, but steel wool takes less time to remove the rust. Give the surface a good 10-15 minute scrub.
- Apply WD-40: The next step is to apply WD-40 and let it sit for 10-30 minutes. The more time WD-40 sits on the metallic surface, the easier it becomes to wipe and remove the rust. However, you must make sure that it doesn’t dry completely. Some moisture will facilitate scrubbing. Grab your steel wool and get to work again. If you have a power sander, it is a great idea to employ it right now to save your time and get better results.
- Deal with Edges: Steel wool and sander cannot work on edges and narrow points. For this, you are going to need a wire brush set to remove the rust. The wires on the brush can reach spots your fingers and sander can’t go.
- Protect the Surface: Rust removal will be incomplete without rust protection. The last step is to coat your tools or metallic tops with a waterproof lubricant. After coating, let the spray dry and buff. Rust protection lubricants are easily available at hardware stores and online.
- Removing rust from Hand Tools: You can use WD-40, steel wool, and wire brush to remove rust from non-electric hand tools like scissors, pliers, screwdrivers, keys, and other tools. Place your tools in a plastic container and spray WD-40 over them. Let them soak for a while and use a wire brush or steel wool to remove rust from the surfaces.
Alternative Ways to Remove Rust from your Tools
There are other ways to remove rust from tools as well. Though they may not be as successful as the method explained above, you can use them if you can’t find WD-40. The best thing about the following methods is that they use household stuff for removing rust.
Water and Vinegar
- Remove dirt, grease, and grime from the surface of the tool by washing or scrubbing.
- Prepare a bucket of vinegar with ¼ cup of salt for every liter of vinegar used. Submerge the tools completely in the vinegar.
- Wait for 2-3 days. Check after a day to see if the rust has softened.
- Once the rust has softened, scrub the surface with steel wool.
- Wash and rinse the tool. Let it dry before using.
Baking Soda
- You can use baking soda to remove rust from smaller surfaces. Follow the steps below for cleaning your tools with baking soda.
- Remove dirt and grease from tools.
- Mix baking soda and water in a small dish until it takes the shape of a paste. Prepare the paste according to your needs.
- Apply the paste to the rusted area and leave it for 2-3 hours.
- Scrub the paste with steel wool until the rust comes off.
- Wash the tool or wipe off the paste before using it.
There is no point in discarding your rusted tools unless they have holes in them. A rusted tool can be cleaned easily and made to work perfectly.
How to Remove Oil and Grease from Power Tools
Oiled and greased parts of your tools attract dust, debris, and other particles that stick on the surface of the tools. These particles get stubborn if not cleaned on time. Removing dirty oil and grease from power tools is difficult and complex than cleaning hand tools as you have to take power tools apart and then clean the dirty surfaces. You will need the following tools and manufacturer’s instructions to open your tools.
- Work gloves
- Compressed air cans
- WD-40
- Bucket
- Hot water
- Cleaning rags
- Steel wool
- Paper towels
- Toothbrush
- Commercial tool cleaner
Follow the steps below to remove the oil and grease from your tools successfully.
- Blow away dust particles and shaving from crevices with compressed air cans.
- Use heavy-duty gloves while handling blades or sharp objects.
- Take apart your tool by following the manufacturer’s instructions.
- Identify the dirty parts and use WD-40 to soften the dirty oil and grease.
- Wait for 10-20 minutes, and then use steel wool to remove the sticky oil and grease.
- If you can’t reach the narrow parts on the tool, submerge only the metal parts in a bucket of hot water and commercial cleaner. (Check the packaging for recommended amount)
- Damp a cleaning rag in this solution and clean the wiring and other parts of your tool except the motor casing. The rag must only be damp and not dripping wet.
- Dry the tool with a paper towel and ensure no moisture is left.
- Clean all the toggles and switches with a toothbrush.
- Now check the metal parts submerged in the bucket and scrub any remaining oil and grease.
- Wash the metal parts with water and let everything dry.
- Once the tools and parts are fully dried, put them back.
- Test your machine for a dry run.
General Safety Guidelines for Cleaning the Power Tools
A lot of mishaps can happen while cleaning power tools. By taking appropriate care, you can avoid such incidents.
- Always unplug the machine from the socket before cleaning. For battery-powered tools, always remove the battery before cleaning them.
- Don’t wear loose clothing, jewelry items, or any other article that can get stuck in the machine. If you have long hair, don’t forget to tie them up.
- Never clean or operate your machine standing on wet ground.
- Always wear personal protective equipment such as gloves, goggles, hearing protection, or a safety cap according to the tool and the situation.
- Use the right equipment for cleaning your tools.
- Keep children, pets, and other people away while cleaning dangerous and sharp objects.
- Make sure the power cords are not presenting a tripping hazard.
- Keep your work table clear, and don’t place coffee mugs/beer cans or any eatables.
- Read the user manual before setting up, operating, cleaning, or storing the tool.
Guidelines for Storing Power Tools
- Always clean your tools before storing them.
- Remove the battery from cordless tools and tie the cables for corded tools.
- Remove work bits and detachable tools from your machine before storing.
- Check for damages and defects before storing your tools.
- Never place your tools on the ground. You can use plastic bins to keep your tools safe.
- Cover your tools in storage bags if you don’t have a wall mount storage area.
- Store your tools in a dry and safe place.
- You must not expose your tools to extreme temperatures.
- Coat your tools with a protector spray to keep them safe from rust and corrosion.
- Follow all the storage instructions given by the manufacturer.
FAQs
Dust and debris can clog the ventilators/exhausts in power tools. It can lead to overheating and result in accidents or malfunctions.
Each tool has different cleaning needs. However, you can use WD-40 for a wide variety of tools.
Your first preference must be the user manual of the product. If you don’t have a user guide or can’t find one online, then you can use other guides available on the internet.
To keep your power tools clean, you must clean them after every use.
Final Word
Regularly cleaned and maintained tools are very important for proper functioning and long life. We have listed the cleaning methods for some commonly used tools and explained how to remove rust and oil from your tools, along with cleaning and storage guidelines. We are sure that you will be able to clean and maintain your tools in a better way now.


